On-Prem Active Directory (AD) Integration Setup
Integrate on-Prem Active Directory server with BalkanID to do lifecycle management (automatically provision and de-provision accesses) and access review certifications.
Currently, the following will be supported.
Create Users
Delete Users
Create Groups
Delete Groups
Add Users to Group
Remove Users from Group
Integrate your On-Prem Active Directory instance
Once the BalkanID Active Directory is installed and the integration is set up, it runs as a service in your environment. The service maintains contact with BalkanID, syncs and uploads data at regular intervals, and passes that data to the BalkanID platform. Once setup, BalkanID application can be used to provision and de-provision access to Active Directory.
Step 1: Install BalkanID Active Directory Agent
Contact BalkanID support to get the latest version of the agent.
Install and set up the agent by running and following the steps:
Run the Installer shared to you by the BalkanID Team.
Enter your domain name in the setup
Make sure to note your VM public IP and the port the agent (default 5000 for HTTP, 5001 for HTTPS) is running on, you will need this in step-2.
A new background Windows program named
BalkanID Agentwill be created. This program is used to provision and de-provision on active directory and allow BalkanID to receive data from active directory.
Before you move to step-2, ensure appropriate networking is exposed on the system where the BalkanID Agent is installed.
Step 2: Set up the Active Directory connector in BalkanID
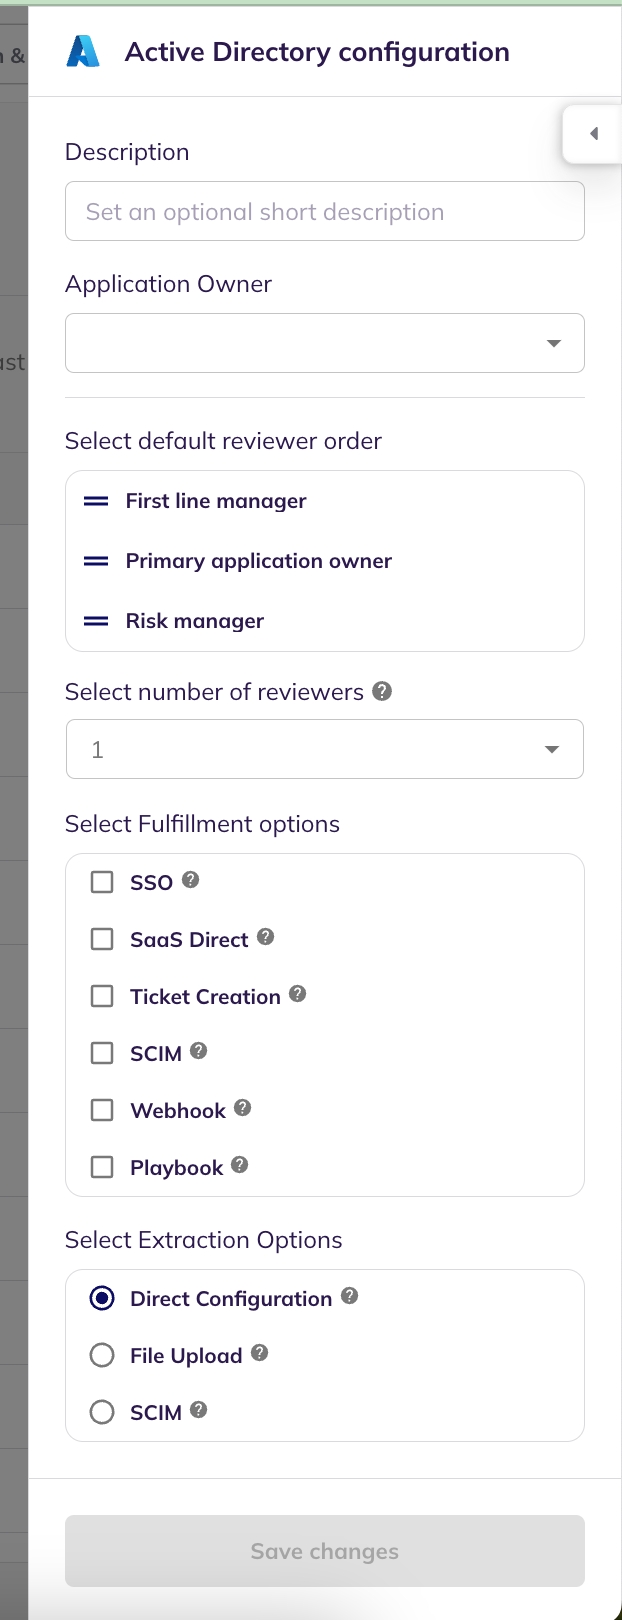
In BalkanID, click Configure > Integrations > Add Integration. It will open a side panel.

Click Active Directory.

It will open a side panel to configure the application. Add relevant details and hit “Save Changes”.

Once configured the application will show up in the application integrations table as a row. Click the gear shaped icon (Configure and Integrate) under “Actions”.

Enter the endpoint (based on the networking configuration that connects to the endpoint in step-1) and domain, save changes.

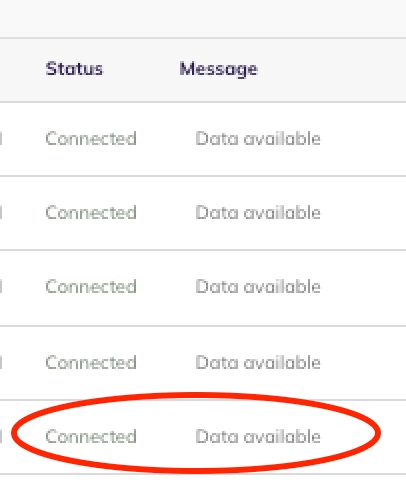
On the BalkanID application, under Configure > Integrations > Third party Applications, you can view the status of the sync at any point in time under “Status” column, which may show “Syncing” , followed by “Connected” once successfully uploaded. It usually takes some time for the data to be processed and appear on the BalkanID application. During that period, the “Message” column may display “Data Processing”, followed by “Data available” once the data is available on the BalkanID application. Any errors will be displayed either on the console where the agent is run as well as under “Message” as error.


To check that the data uploaded correctly. On BalkanID application, click Entities > Applications, locate and click the name of the integration corresponding to Active Directory. Active Directory data should be found on the Identities, Connections and Entitlements tabs.

Was this helpful?

