

New identity access request
The New Identituy Access Request System offers three primary functions:
Identity Creation
Identity Assignment
Identity Deletion
Each function can be easily accessed through a simple selection process using radio buttons on our interface. Detailed steps on how to perform each action are provided below.
Identity Creation
Creating a new identity is a straightforward process that allows you to create new identities in the existing applications.
Select Creation: Choose the "Creation" radio button to initiate the identity creation process. Choose a Provisioning Option: Select a provisioning option. Choose an Application: Select the application where you want to create a new identity.
Choose a User Account Type: Select from the list of user account types that are supported for the application. Select a name: Select a name for the new access request.
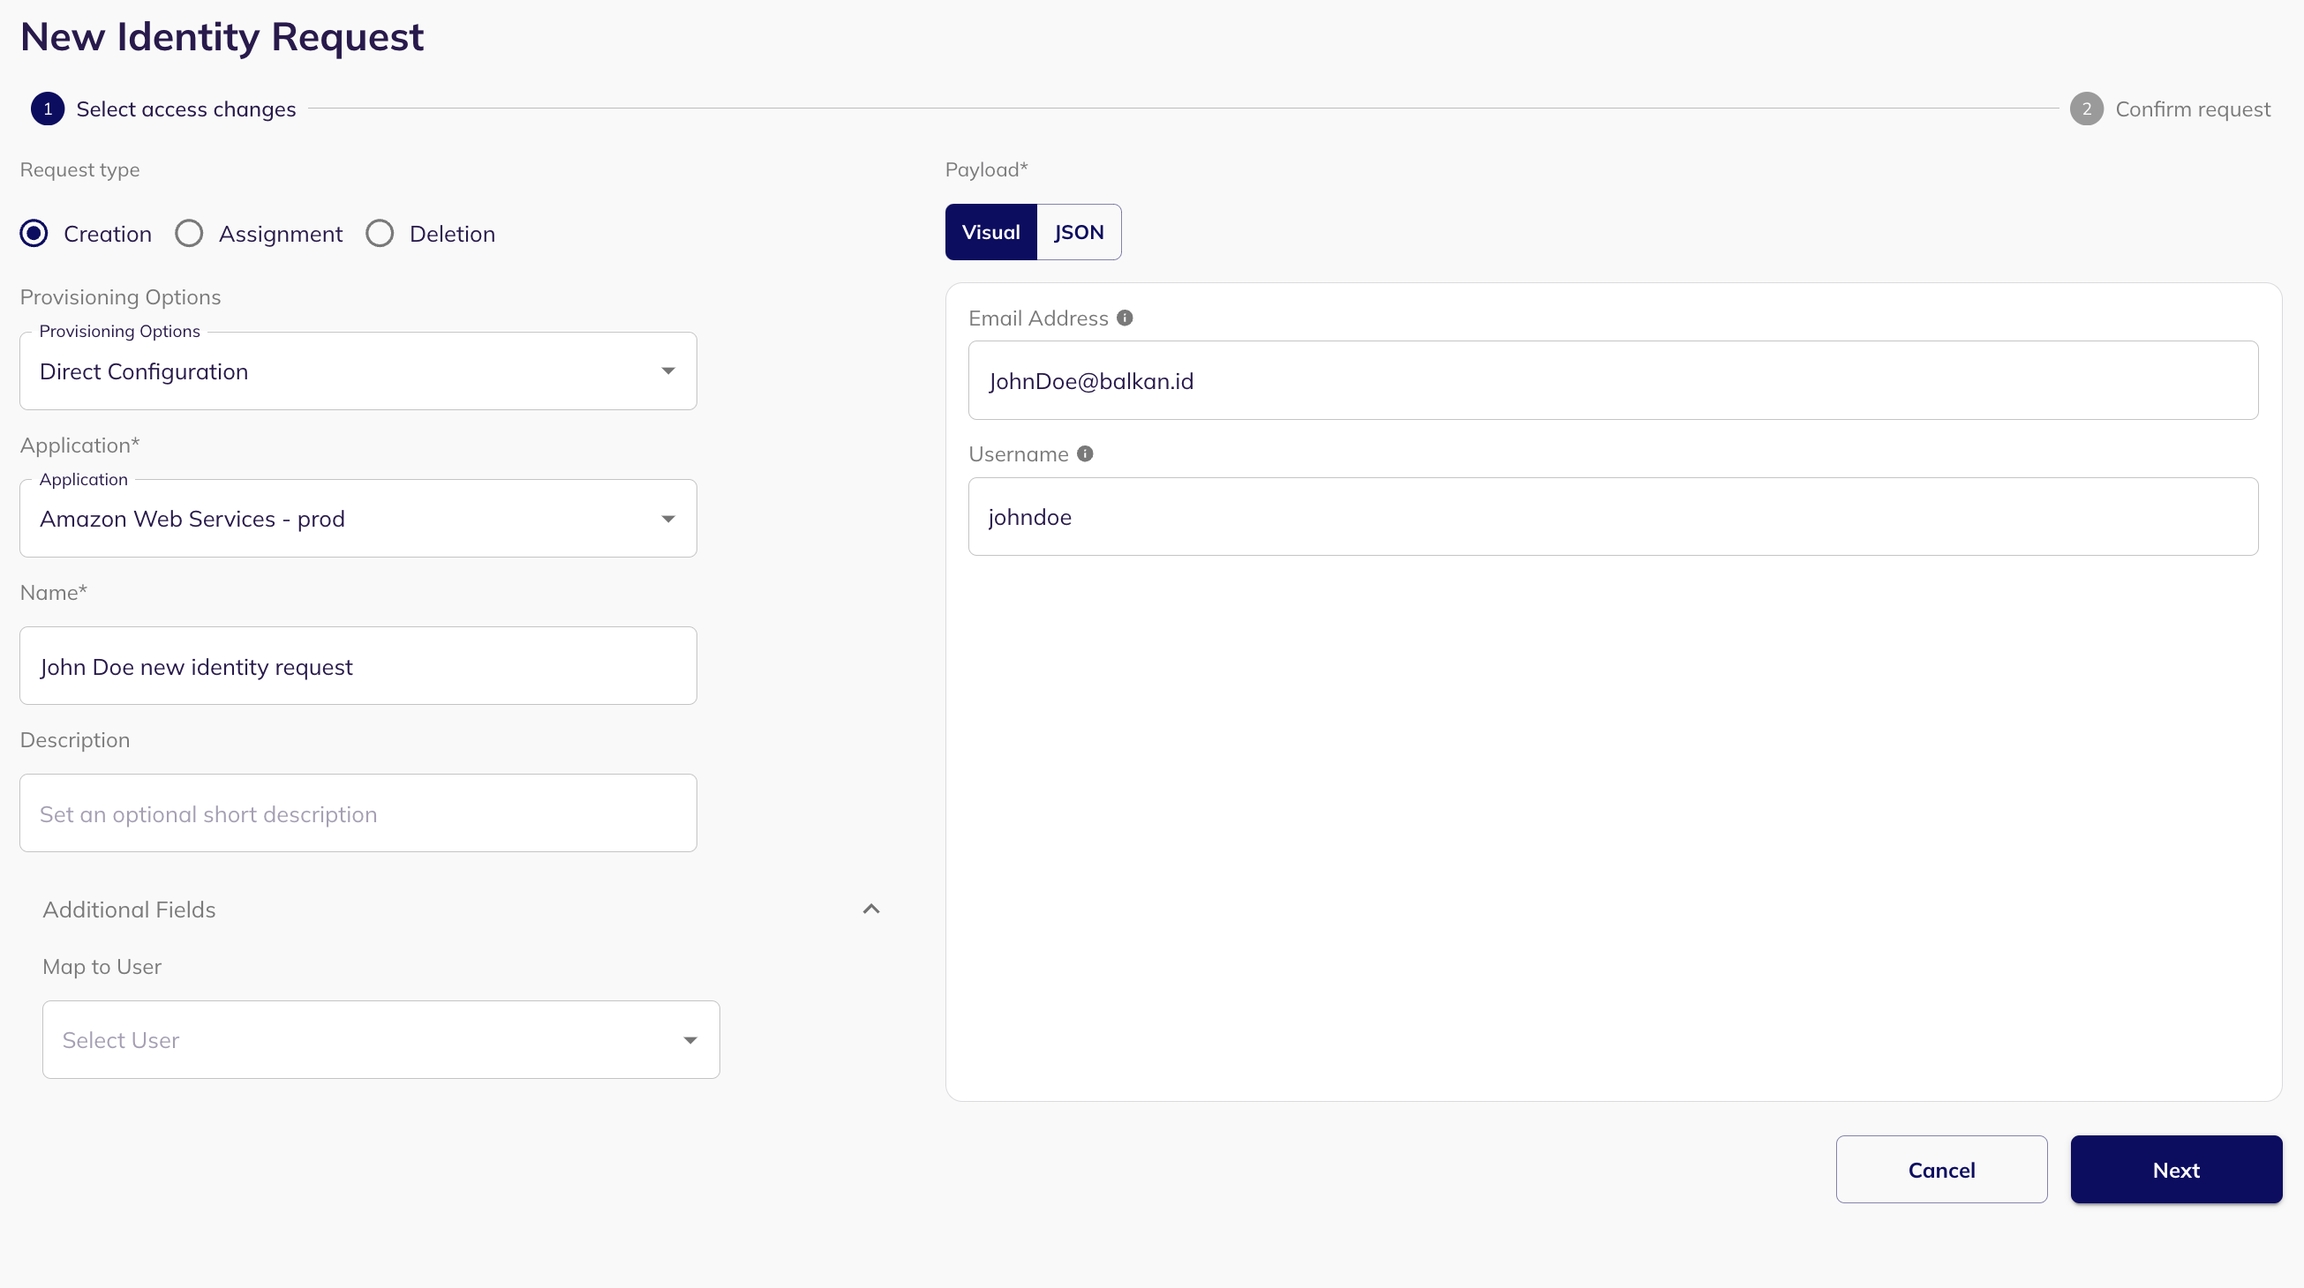
Fill the Payload: Upon selecting an application, a form (payload) will appear on the page. Complete this form with the necessary information to create the new identity.
(Optional) Map the new identity with an existing user.
Preview Your Request: After filling out the form, proceed to the next page to preview your request. This ensures that all provided information is correct.
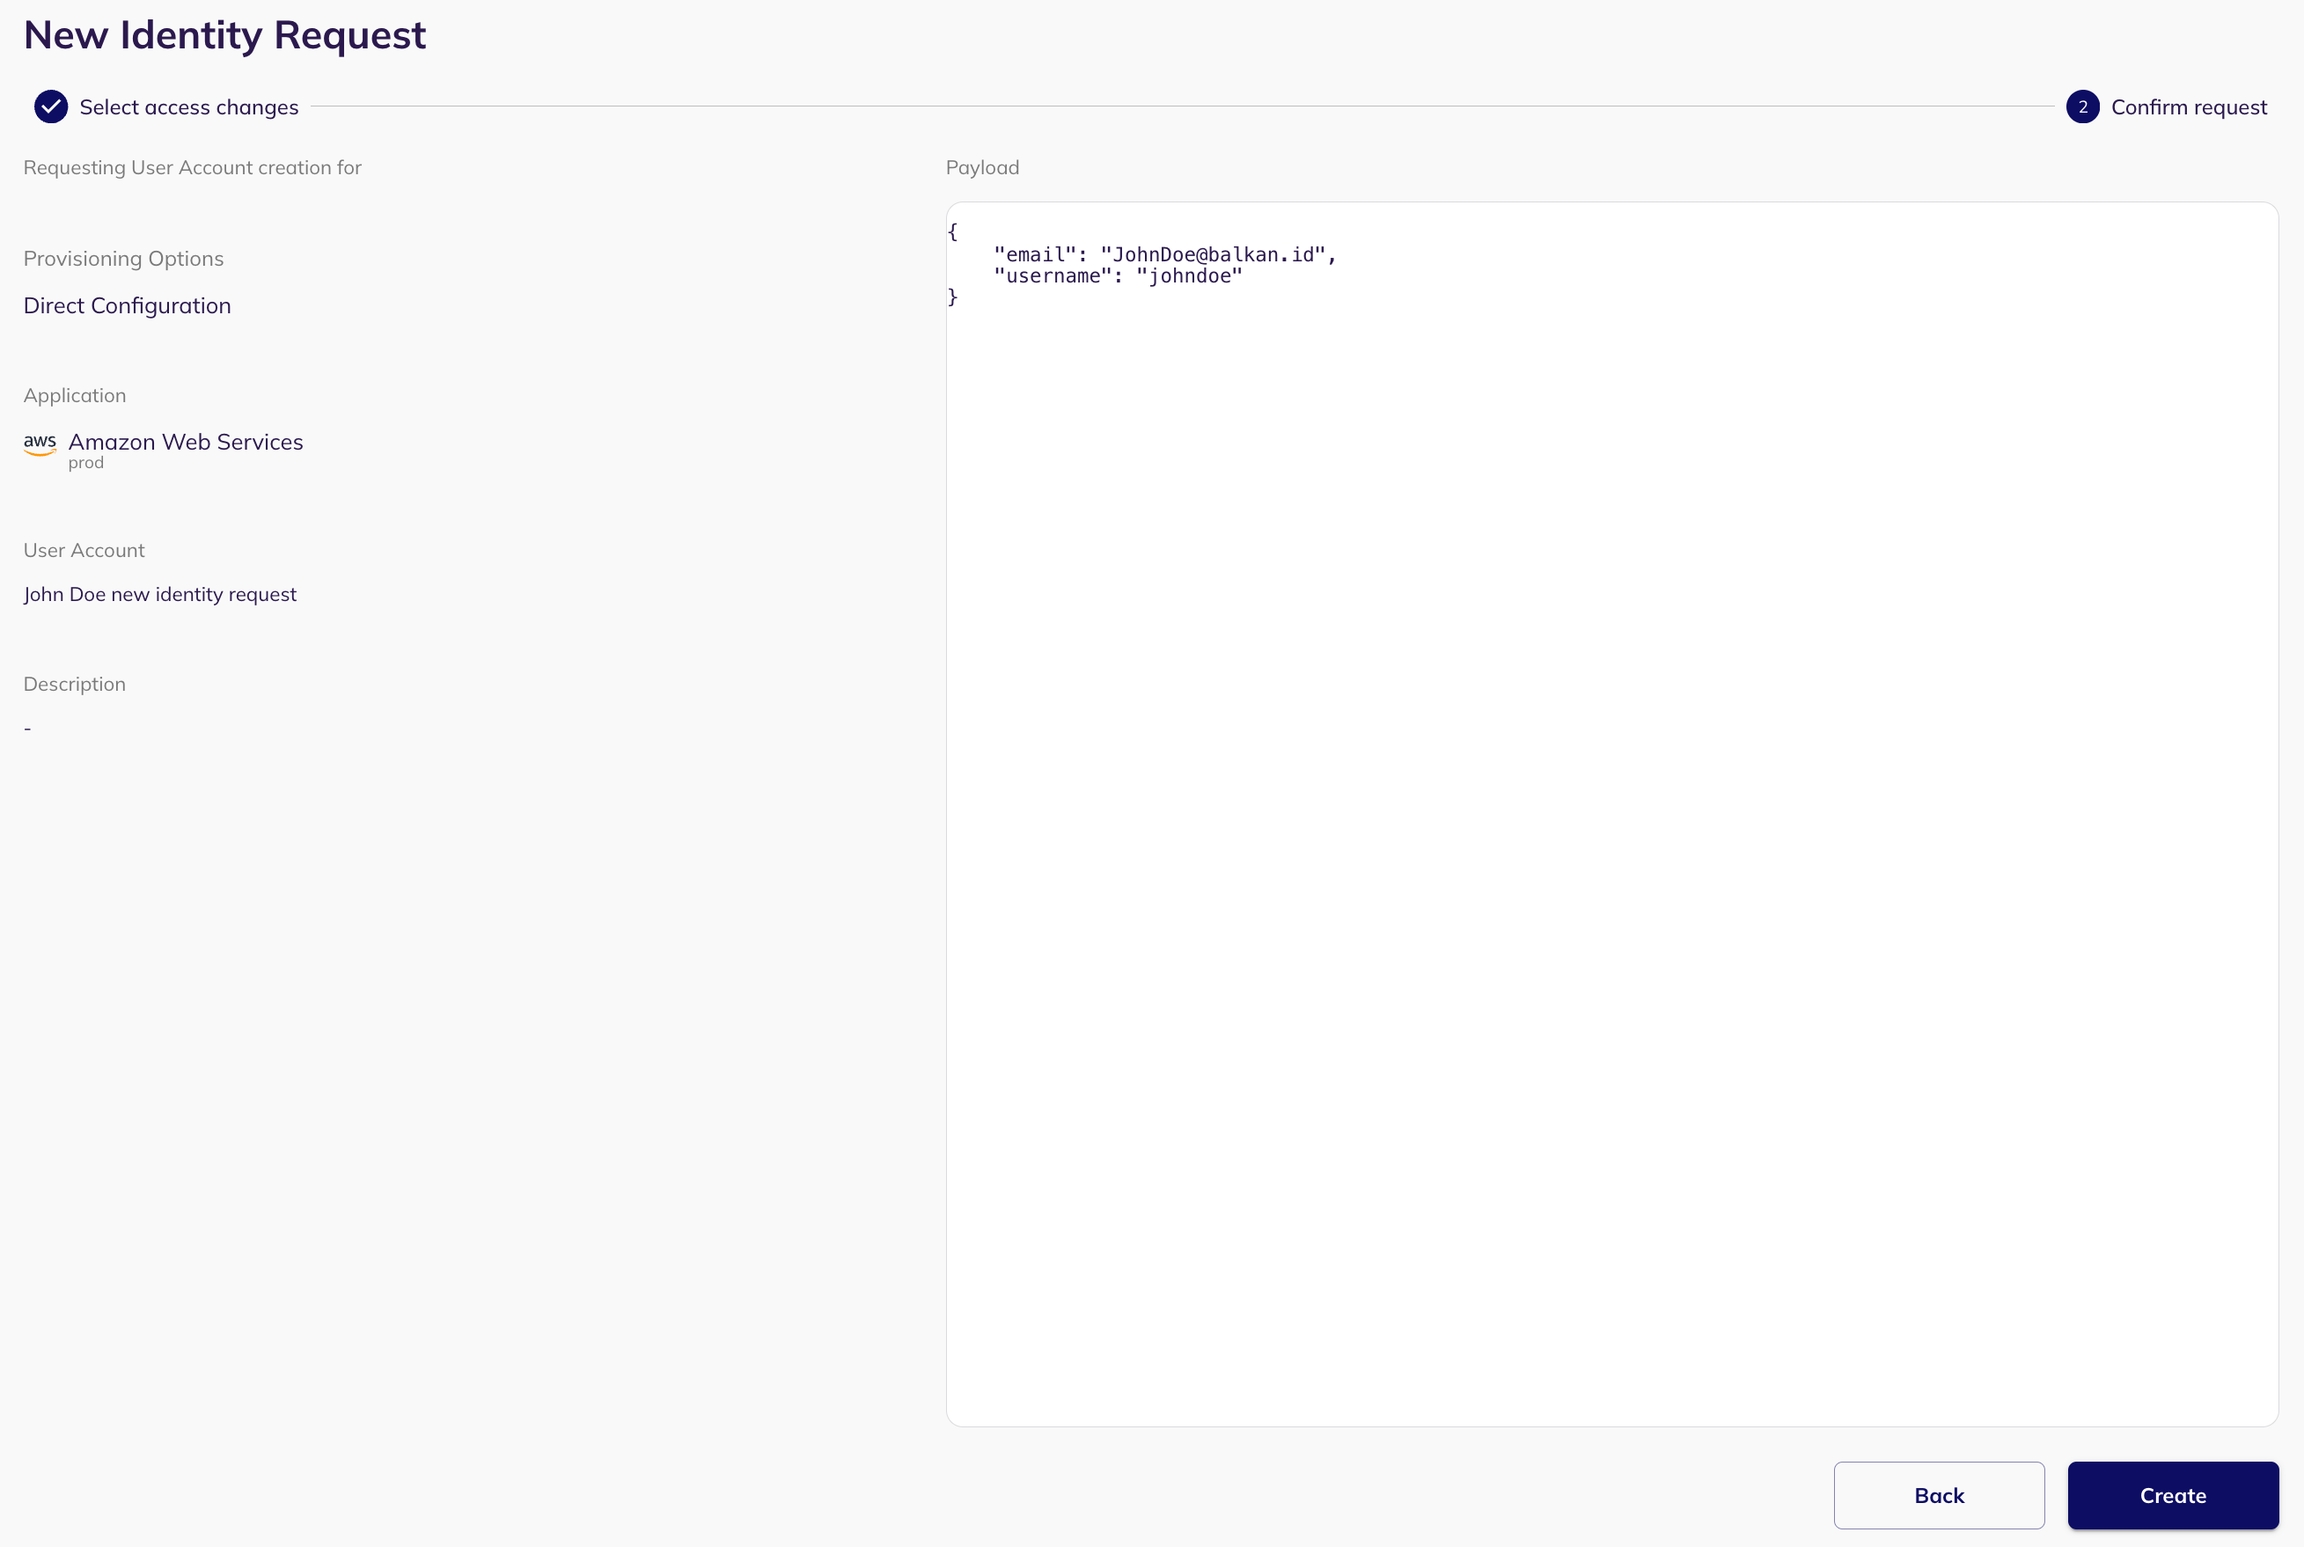
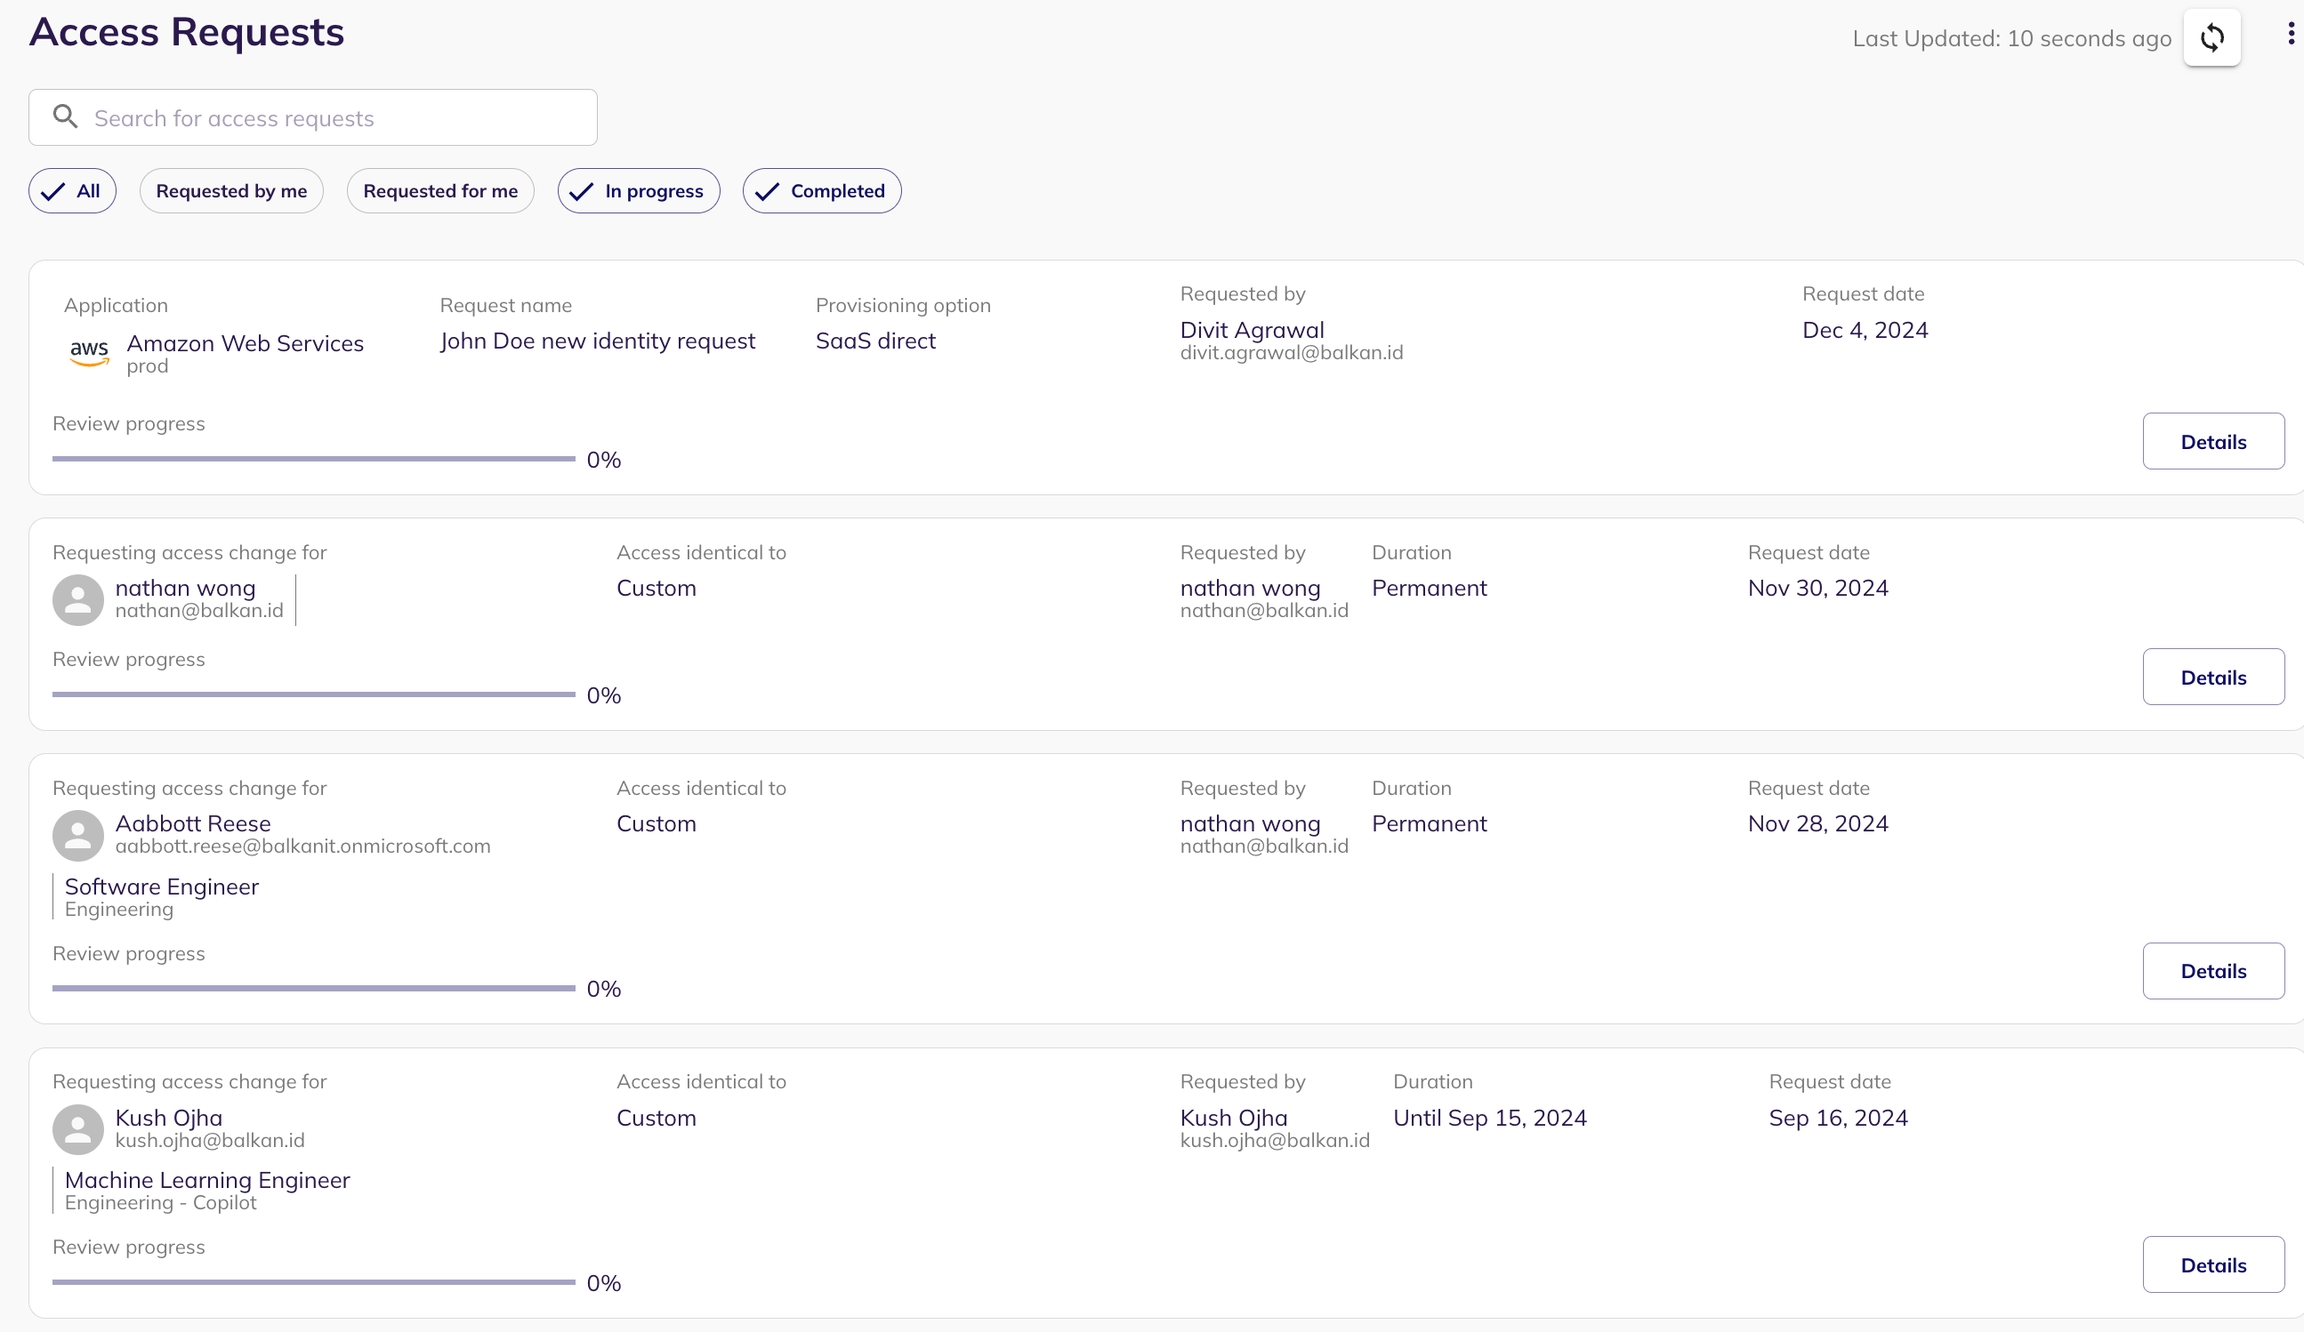
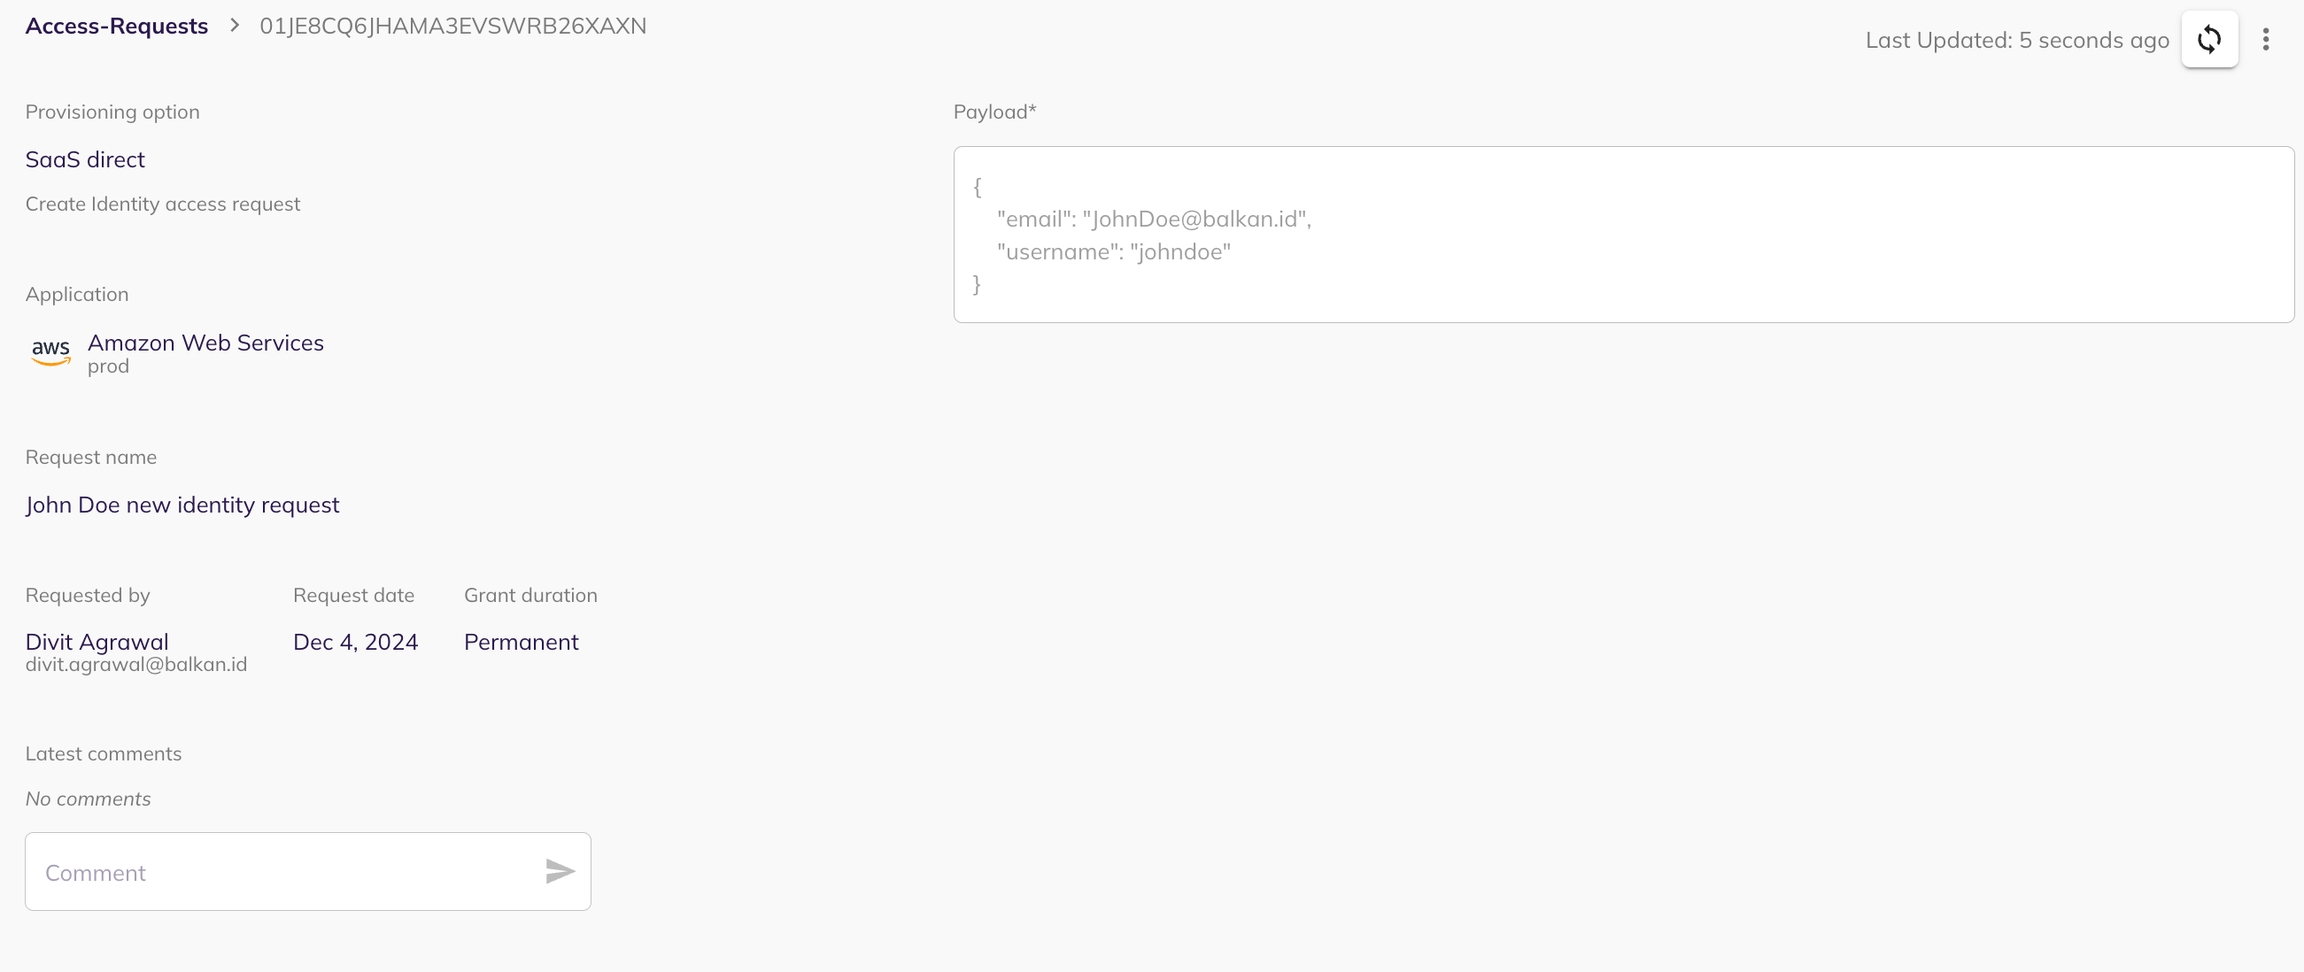
Create Request: Click the "Create Request" button. Your request will be submitted for approval. The request will be visible in the my task page of the reviewer.
Approval and Verification: Once approved(from the my task page of the reviewer), the identity will be added to the selected application. You can verify the addition by checking within the respective application.
Identity Assignment
The assignment function allows you to grant or revoke access to various resources and connections for an existing connection.
Select Assignment: Choose the "Assignment" radio button to begin the process of assigning resources to a connection.
Select provisioning option and application: Choose the provisioning option and then select the application of the identity you wish to grant/revoke access to.
Select a user account: Select the user for which you want to grant/revoke access.

Select grant/revoke connections: From the visual view, select the accesses you want to grant/revoke from this user's account.

Preview and Create Request: Like the creation process, preview your request on the next page and then click on "Create Request" to submit it for approval. The request will be visible in the my task page of the reviewer.

Approval and Update: Once approved (from the reviewer's my task page) the identity's assignments within the application will be updated according to your specifications.

Identity Deletion
Deleting a identity deletes it from the selected application.
Select Deletion: Choose the "Deletion" radio button to initiate the connection deletion process.
Choose a Provisioning Option: Select a provisioning option. Choose an Application: Select the application where you want to delete a new identity from. Select user account: Select the user account whose identity you want to delete from the selected application.

Preview and Create Request: Preview your deletion request on the next page and click on "Create Request" to submit it for approval.The request will be visible in the my task page of the reviewer.

Approval and Deletion: After the request is approved(from the reviewer's my task page), the identity will be deleted from the application.
Last updated
Was this helpful?