

Box Integration Setup
Getting Started
BalkanID recommends creating a separate service account for the purposes of this integration, instead of using personal or employee named accounts.
Requirements
Enterprise ID
Client ID
Client Secret
Getting the Configuration
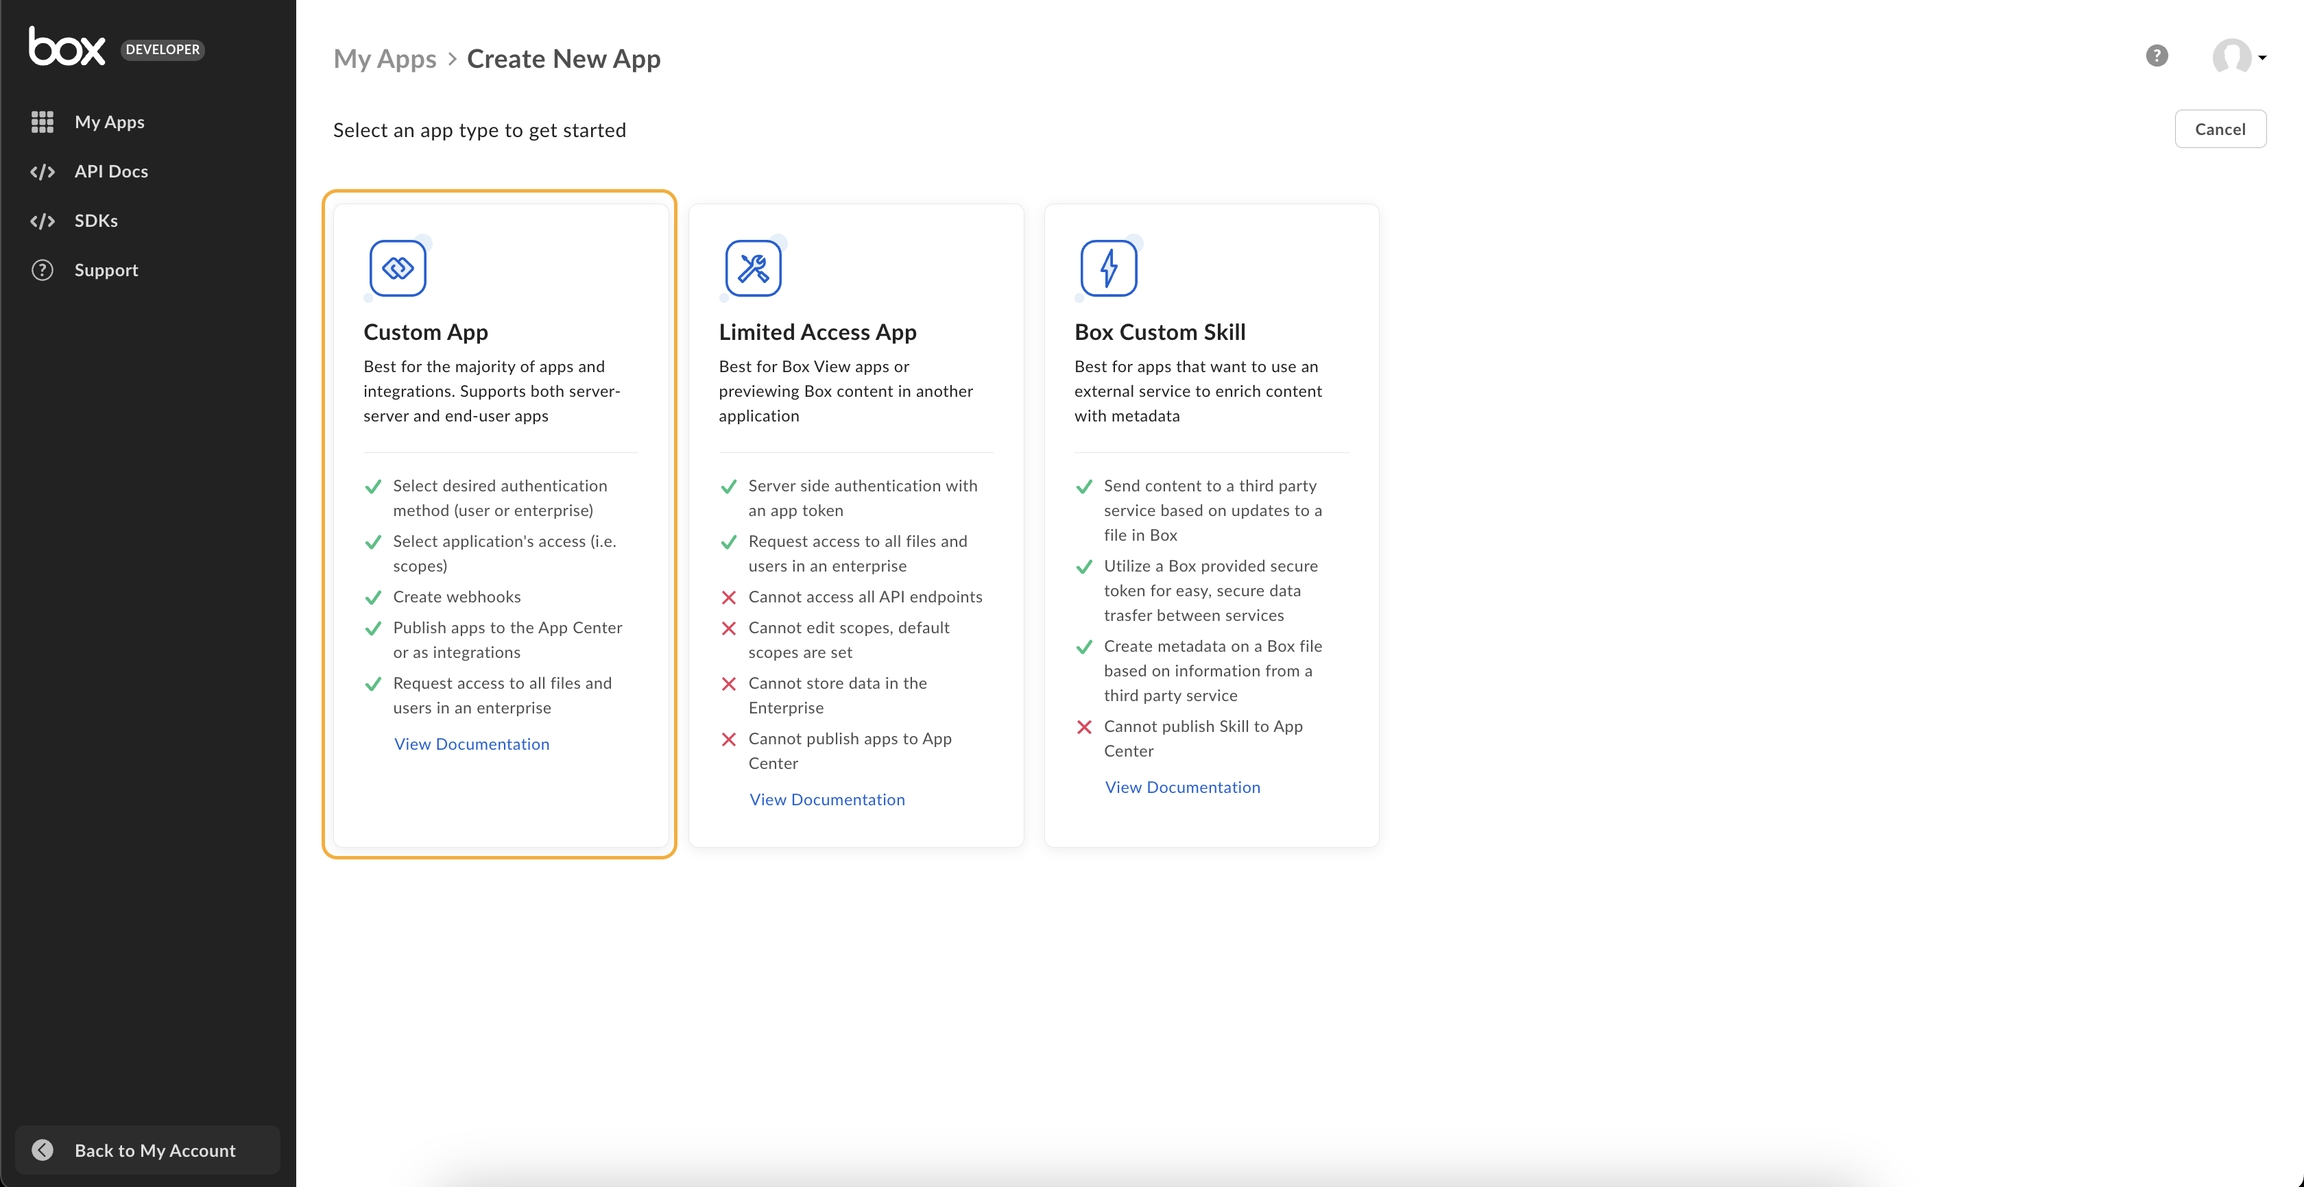
You will need to setup our Box Custom Application. To create a Box Application, visit: https://app.box.com/developers/console and click the Create New App button as shown.

Once done, you’ll have to choose the app type. Select Custom App as shown and choose Server Authentication.
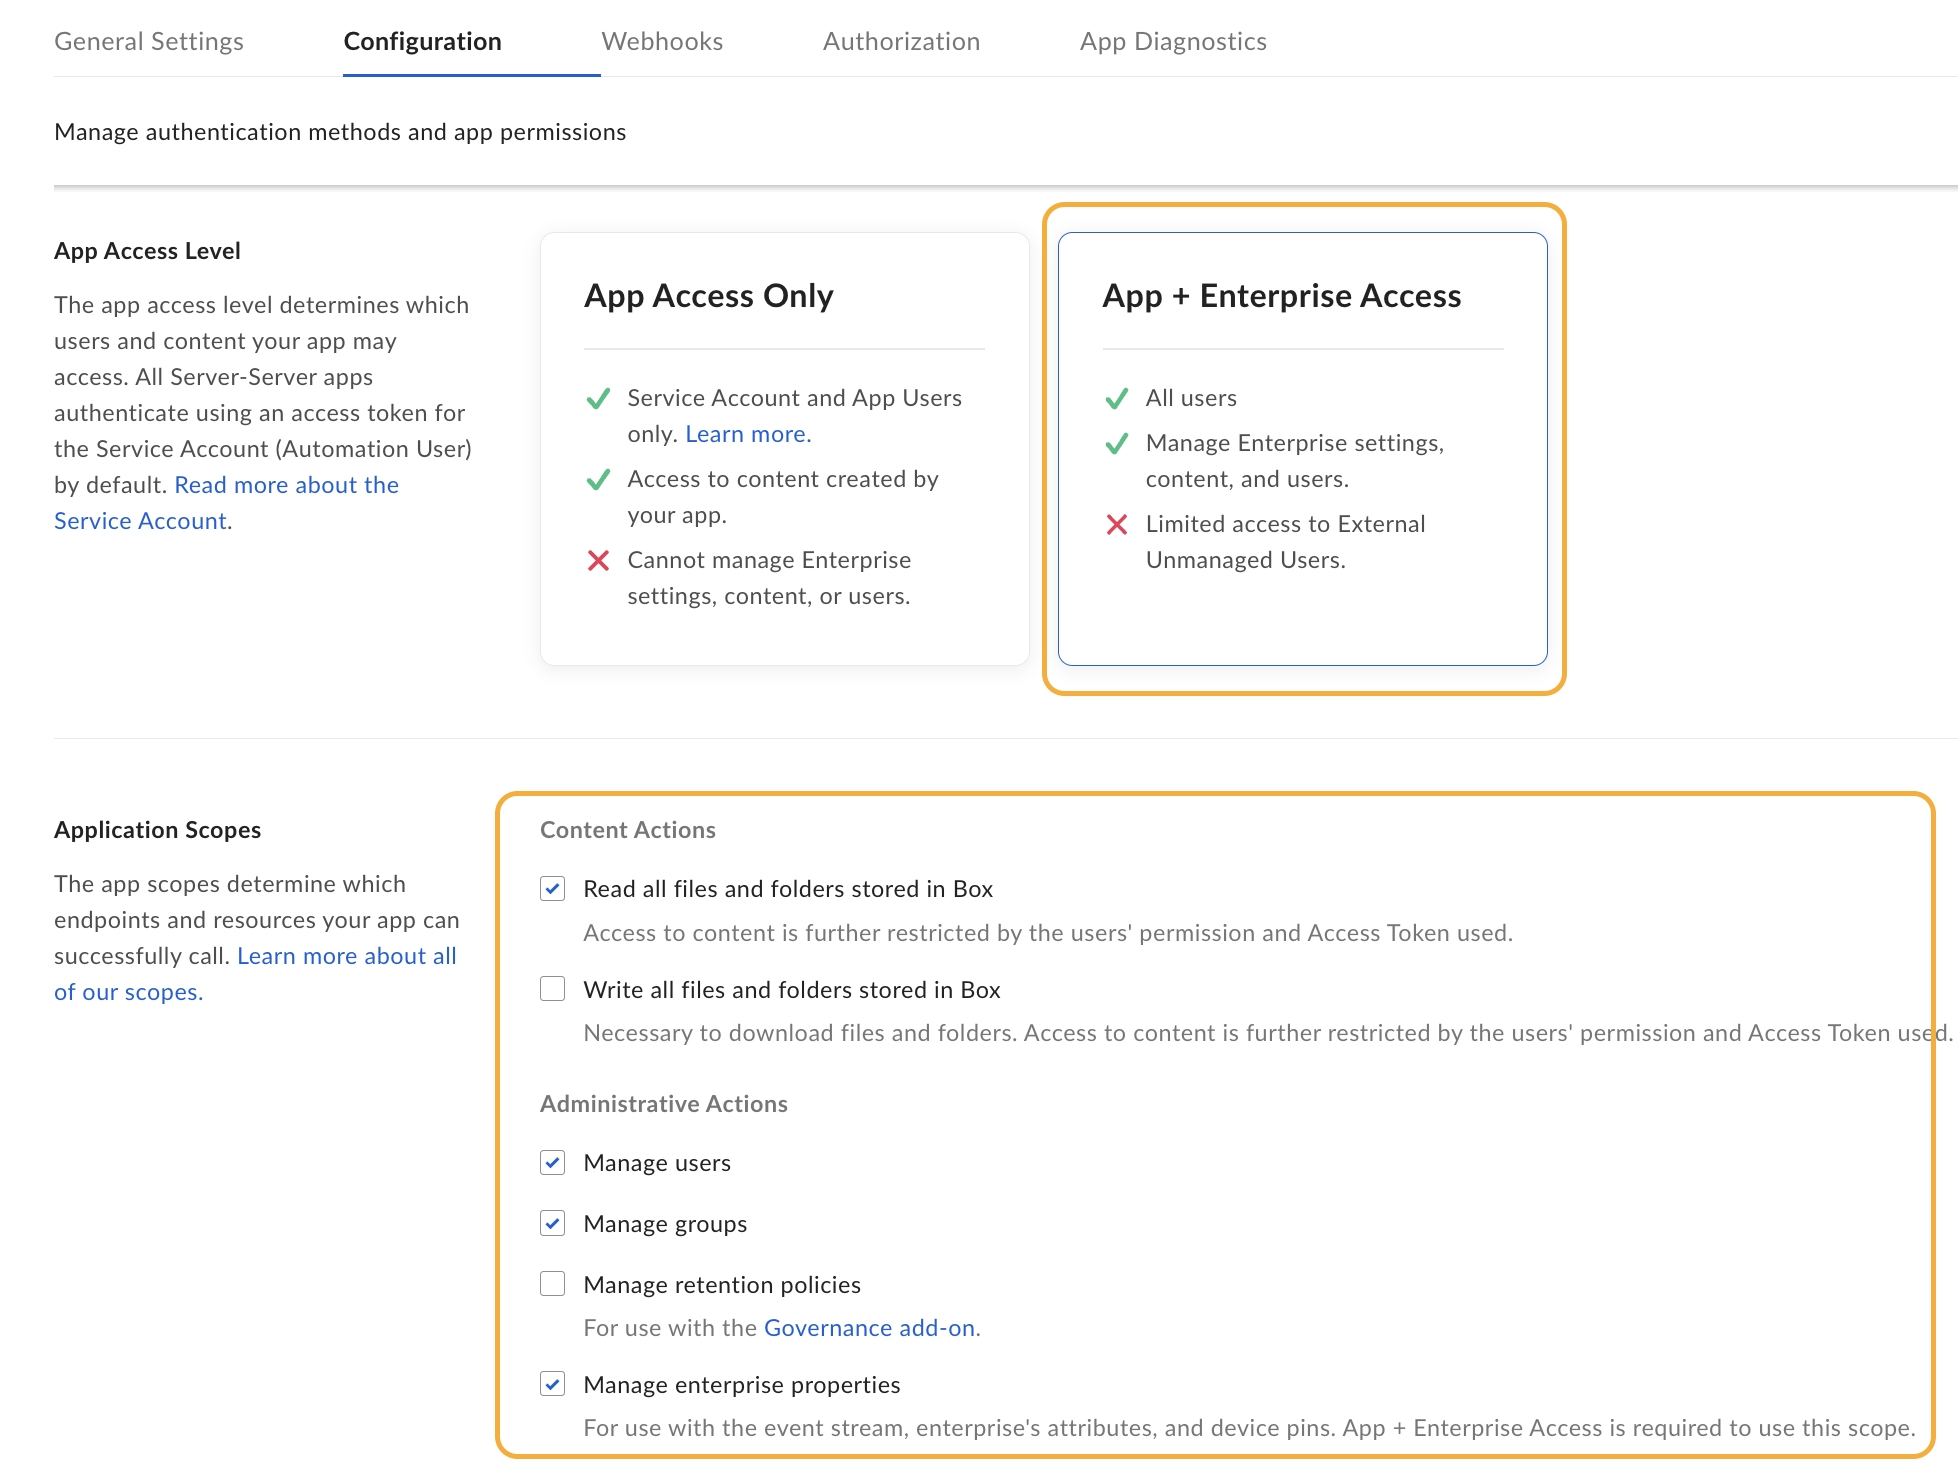
Go to the Configuration tab and scroll down to App Access Level and enable/choose the following scopes:
Go to the Authorization tab and click Review and Submit.

Once done, you will be able to see the enablement status.

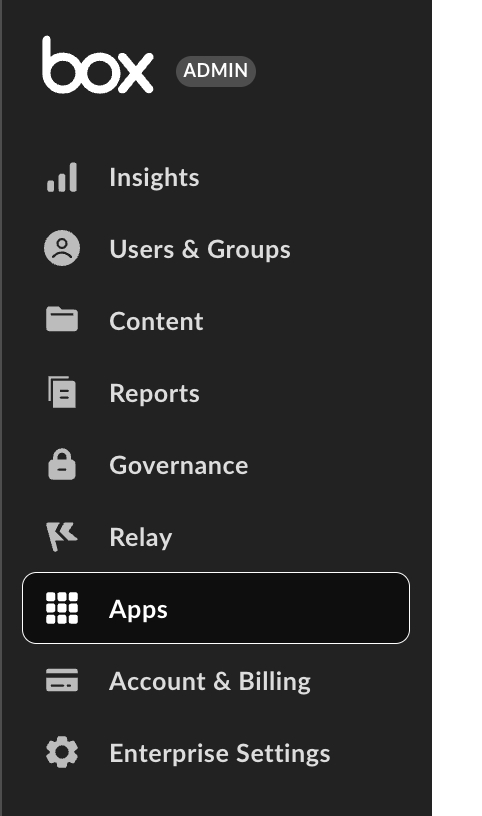
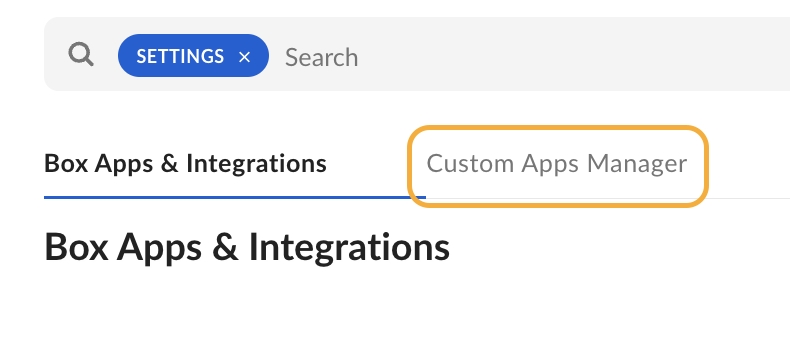
To approve this, go to the box Admin Portal at https://app.box.com/master. Click Apps on the left menu and select Custom Apps Manager.
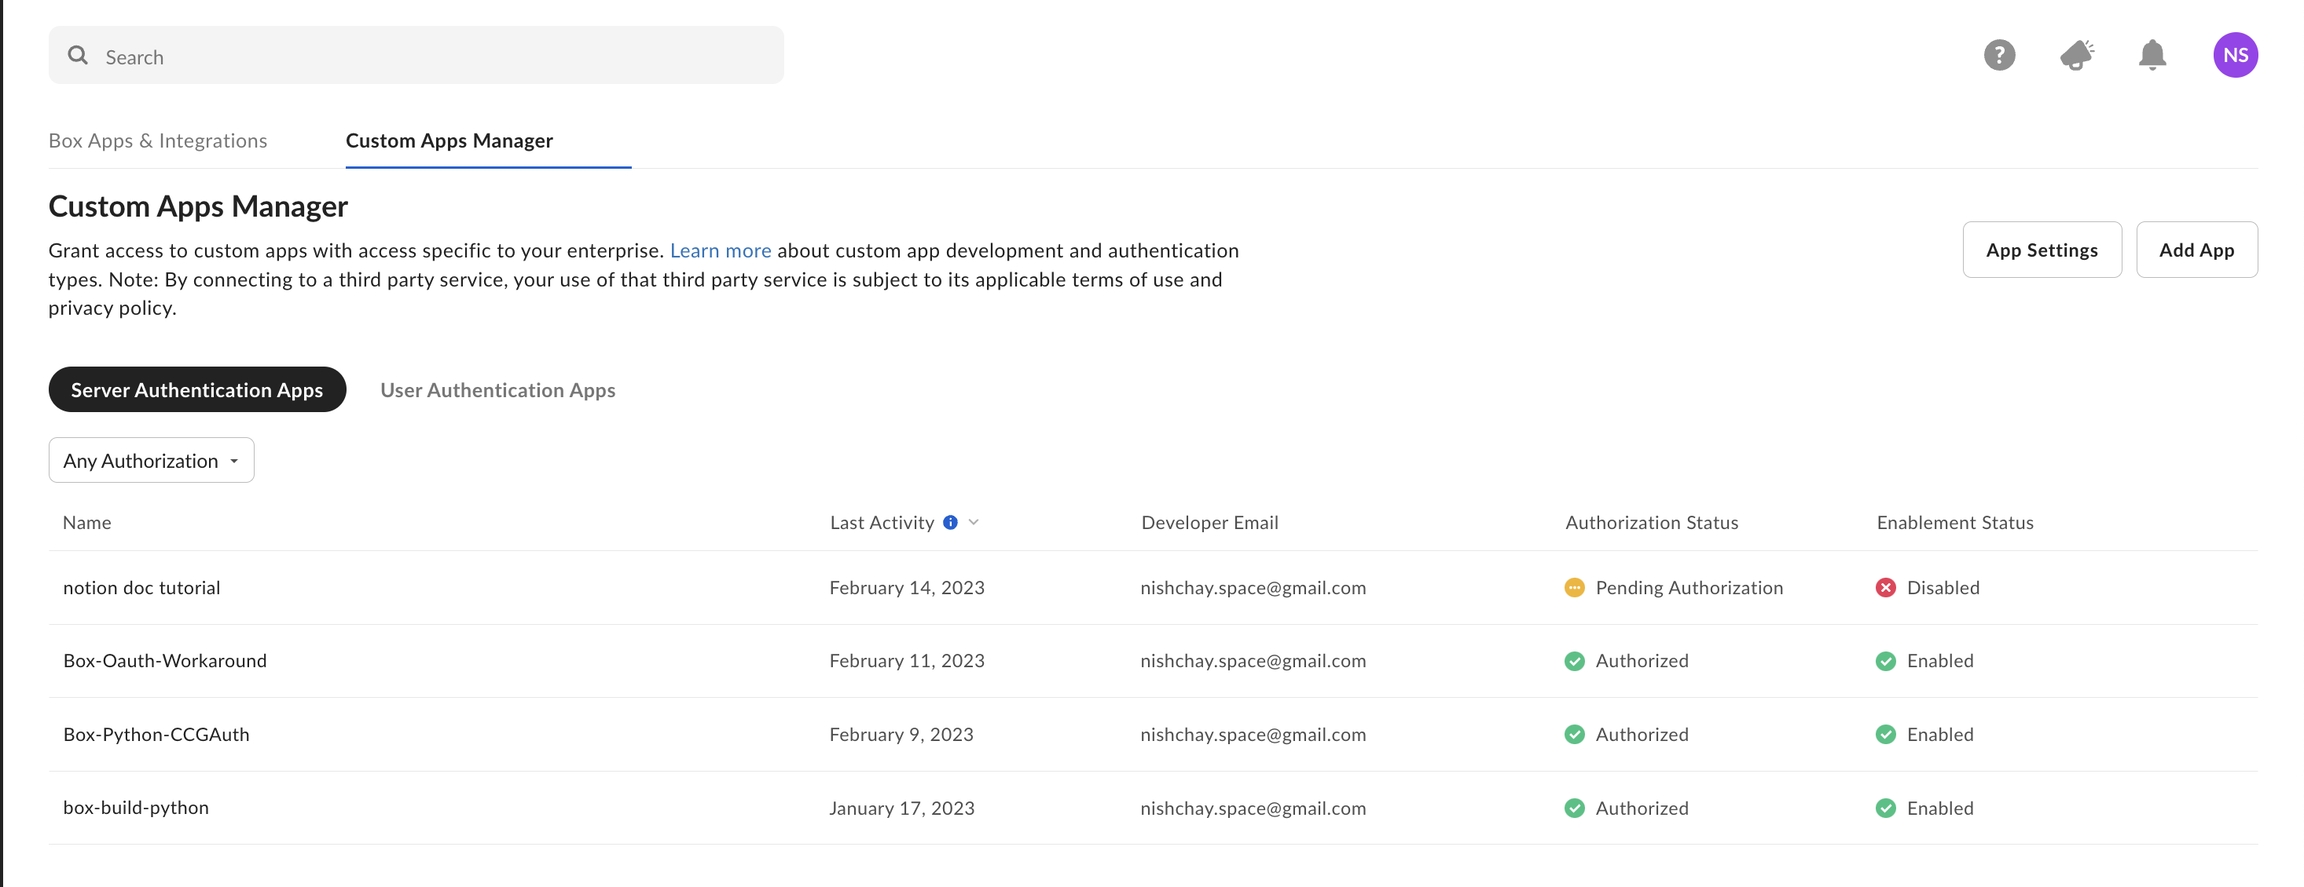
You can see your newly created app here. To enable it simply hover over the app name and click the menu for more options on the right. Click Authorize App.

Once done, go back to the developer portal at https://app.box.com/developers/console, select your application and copy the credentials.
Configure Box within your BalkanID tenant
Login to the BalkanID application and switch to the tenant you would like to add your integration to.
Head to Integrations > Third Party Applications and click Add Integration, select Box. Set up the Primary Application owner and the Description, if any.

Box would have been added to the list of applications. Click on the Configure and Integrate button beside the integration name, and configure the fields with the values that were noted prior. It should look like this:

Once you filled in the information, click Save changes. Your integration is now configured and you will see the status of the integration displayed alongside other integrations on the Integrations page. Integrations are synced daily. When data is available, the integration Status column will read Connected and the integration Message will read Data available.
Was this helpful?