> For the complete documentation index, see [llms.txt](https://docs.balkan.id/llms.txt). Markdown versions of documentation pages are available by appending `.md` to page URLs; this page is available as [Markdown](https://docs.balkan.id/getting-started/setting-up-your-tenant/application-integrations/direct-application-integrations/zendesk-integration-setup.md).
# Zendesk Integration Setup
### Getting Started
Use this guide to connect Zendesk to your BalkanID tenant. You will need credentials from the Zendesk Admin Center and access to the Integrations section in BalkanID.
{% hint style="info" %}
BalkanID extracts your Zendesk team members — agents and administrators — along with their roles and group memberships. End users are not extracted.
{% endhint %}
#### Requirements:
Before you begin, collect the following values from Zendesk:
* **Zendesk Subdomain**
* **Zendesk Email**
* **API Token**
### Configure Zendesk within your BalkanID tenant
1. Sign in to Zendesk as an administrator.
2. Your **Zendesk Subdomain** is the first part of the address you sign in to. If you sign in at `acme.zendesk.com`, your subdomain is `acme`.
3. Go to **Admin Center** > **Apps and integrations** > **APIs** > **Zendesk API**, and confirm that **API token access** is enabled.
4. Select **Add API token**, give the token a name, and copy it. Zendesk displays the token only once, so store it before closing the dialog.
5. Your **Zendesk Email** is the email address of the administrator account that created the token.
6. In BalkanID, go to **Integrations** and select **Add integration**.
Integrations
7. Search for **Zendesk**, select it, and click **Next**.
Connect a new application
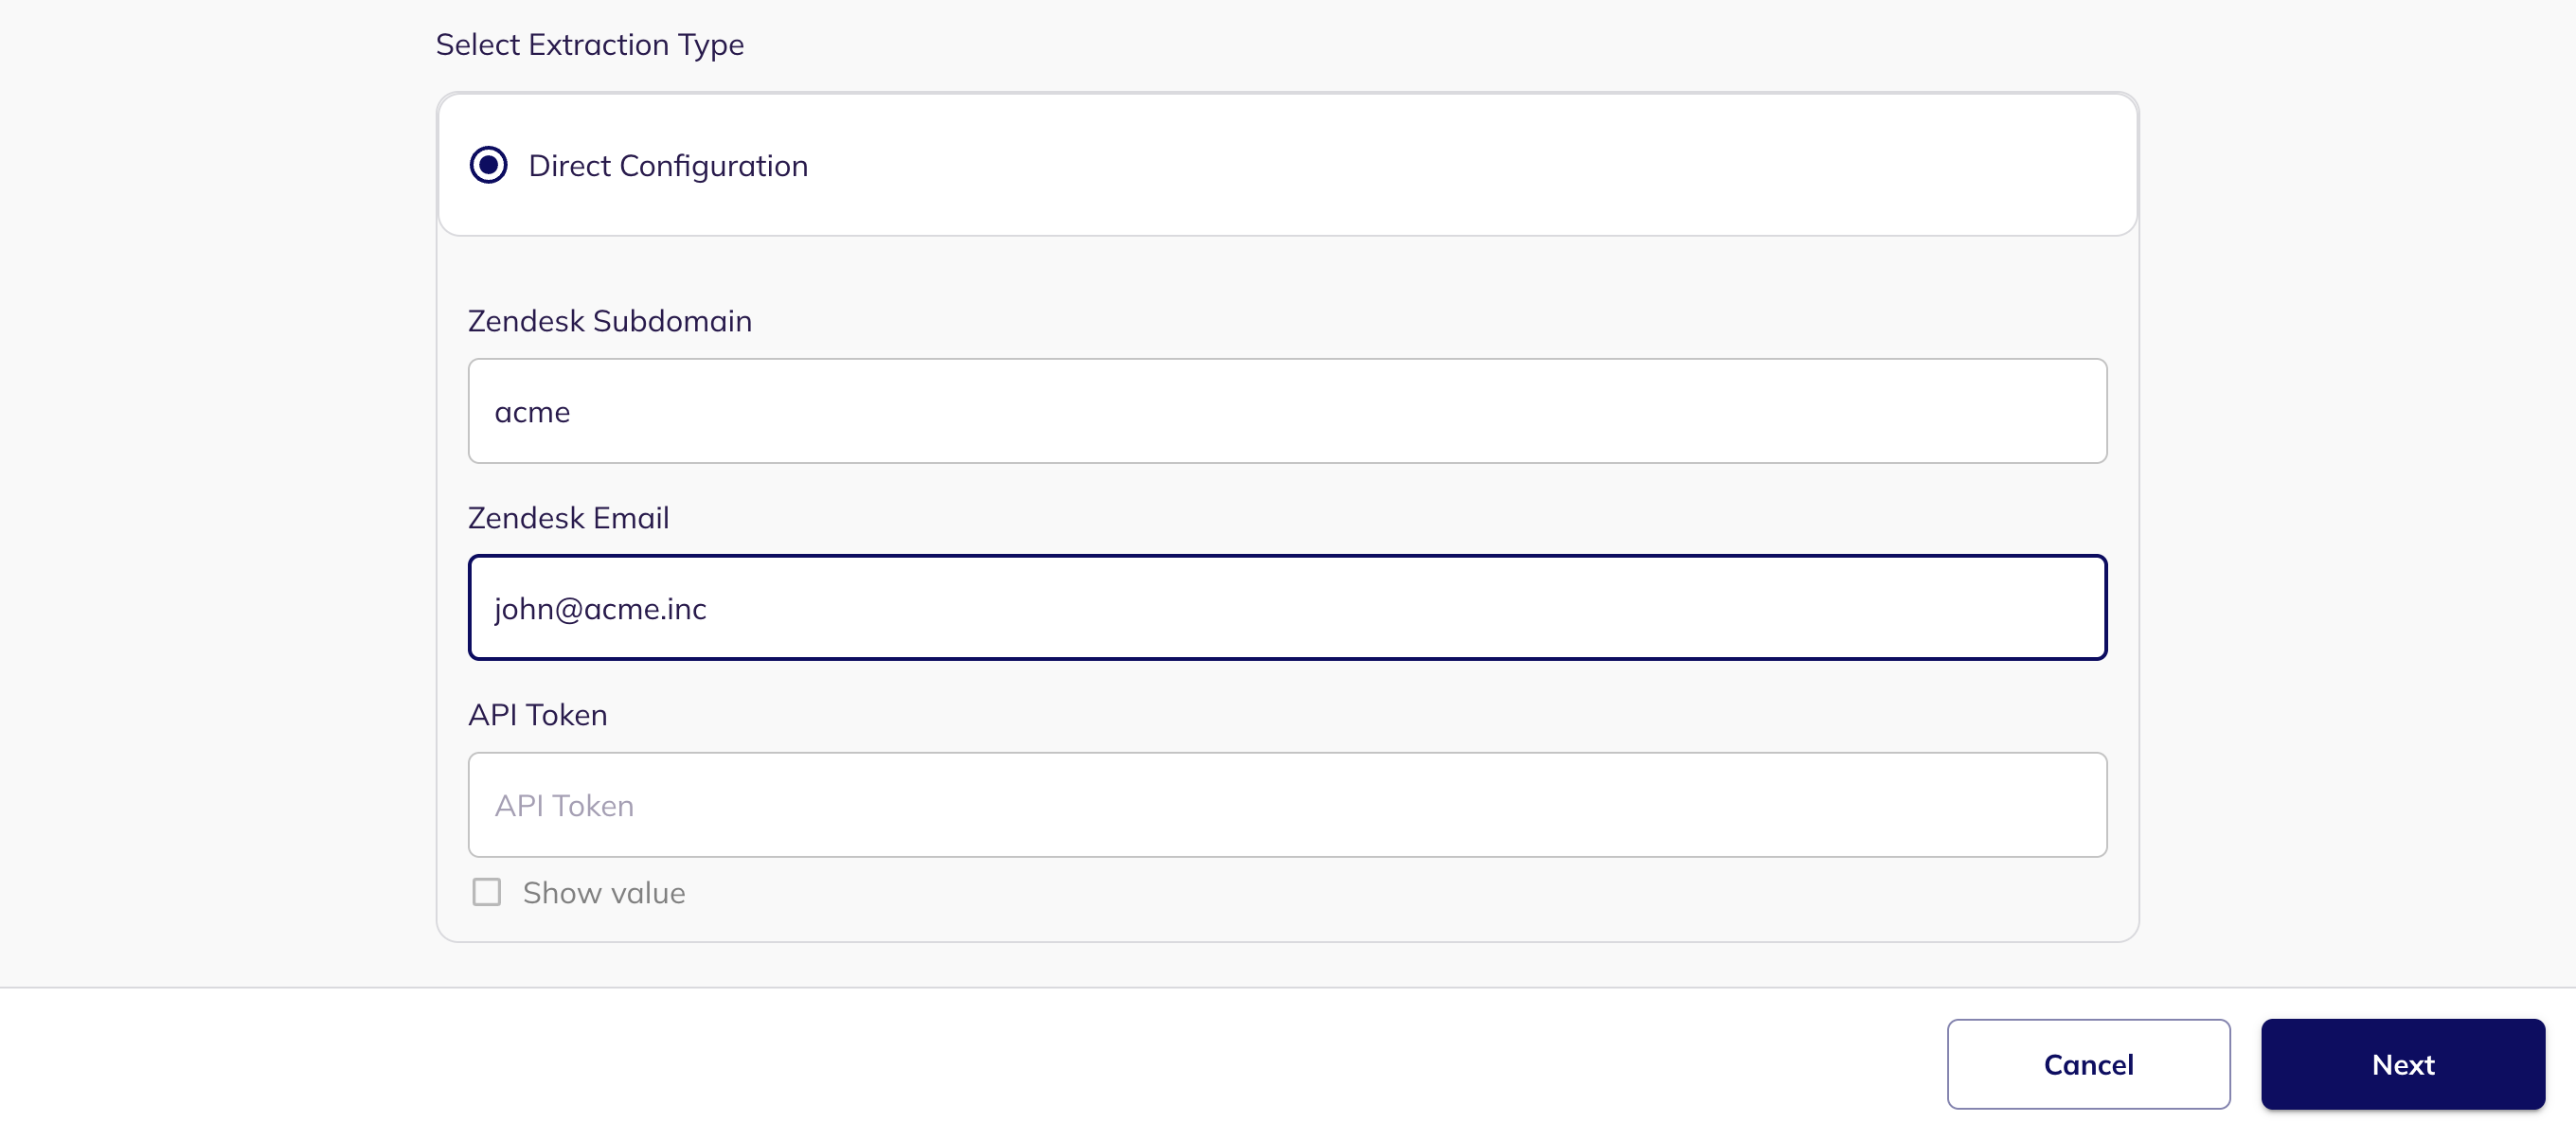
8. Under **Select Extraction Type**, choose **Direct Configuration**, then enter your **Zendesk Subdomain**, **Zendesk Email** and **API Token**.
Direct Configuration
9. Click Next to move onto Optional Configuration.
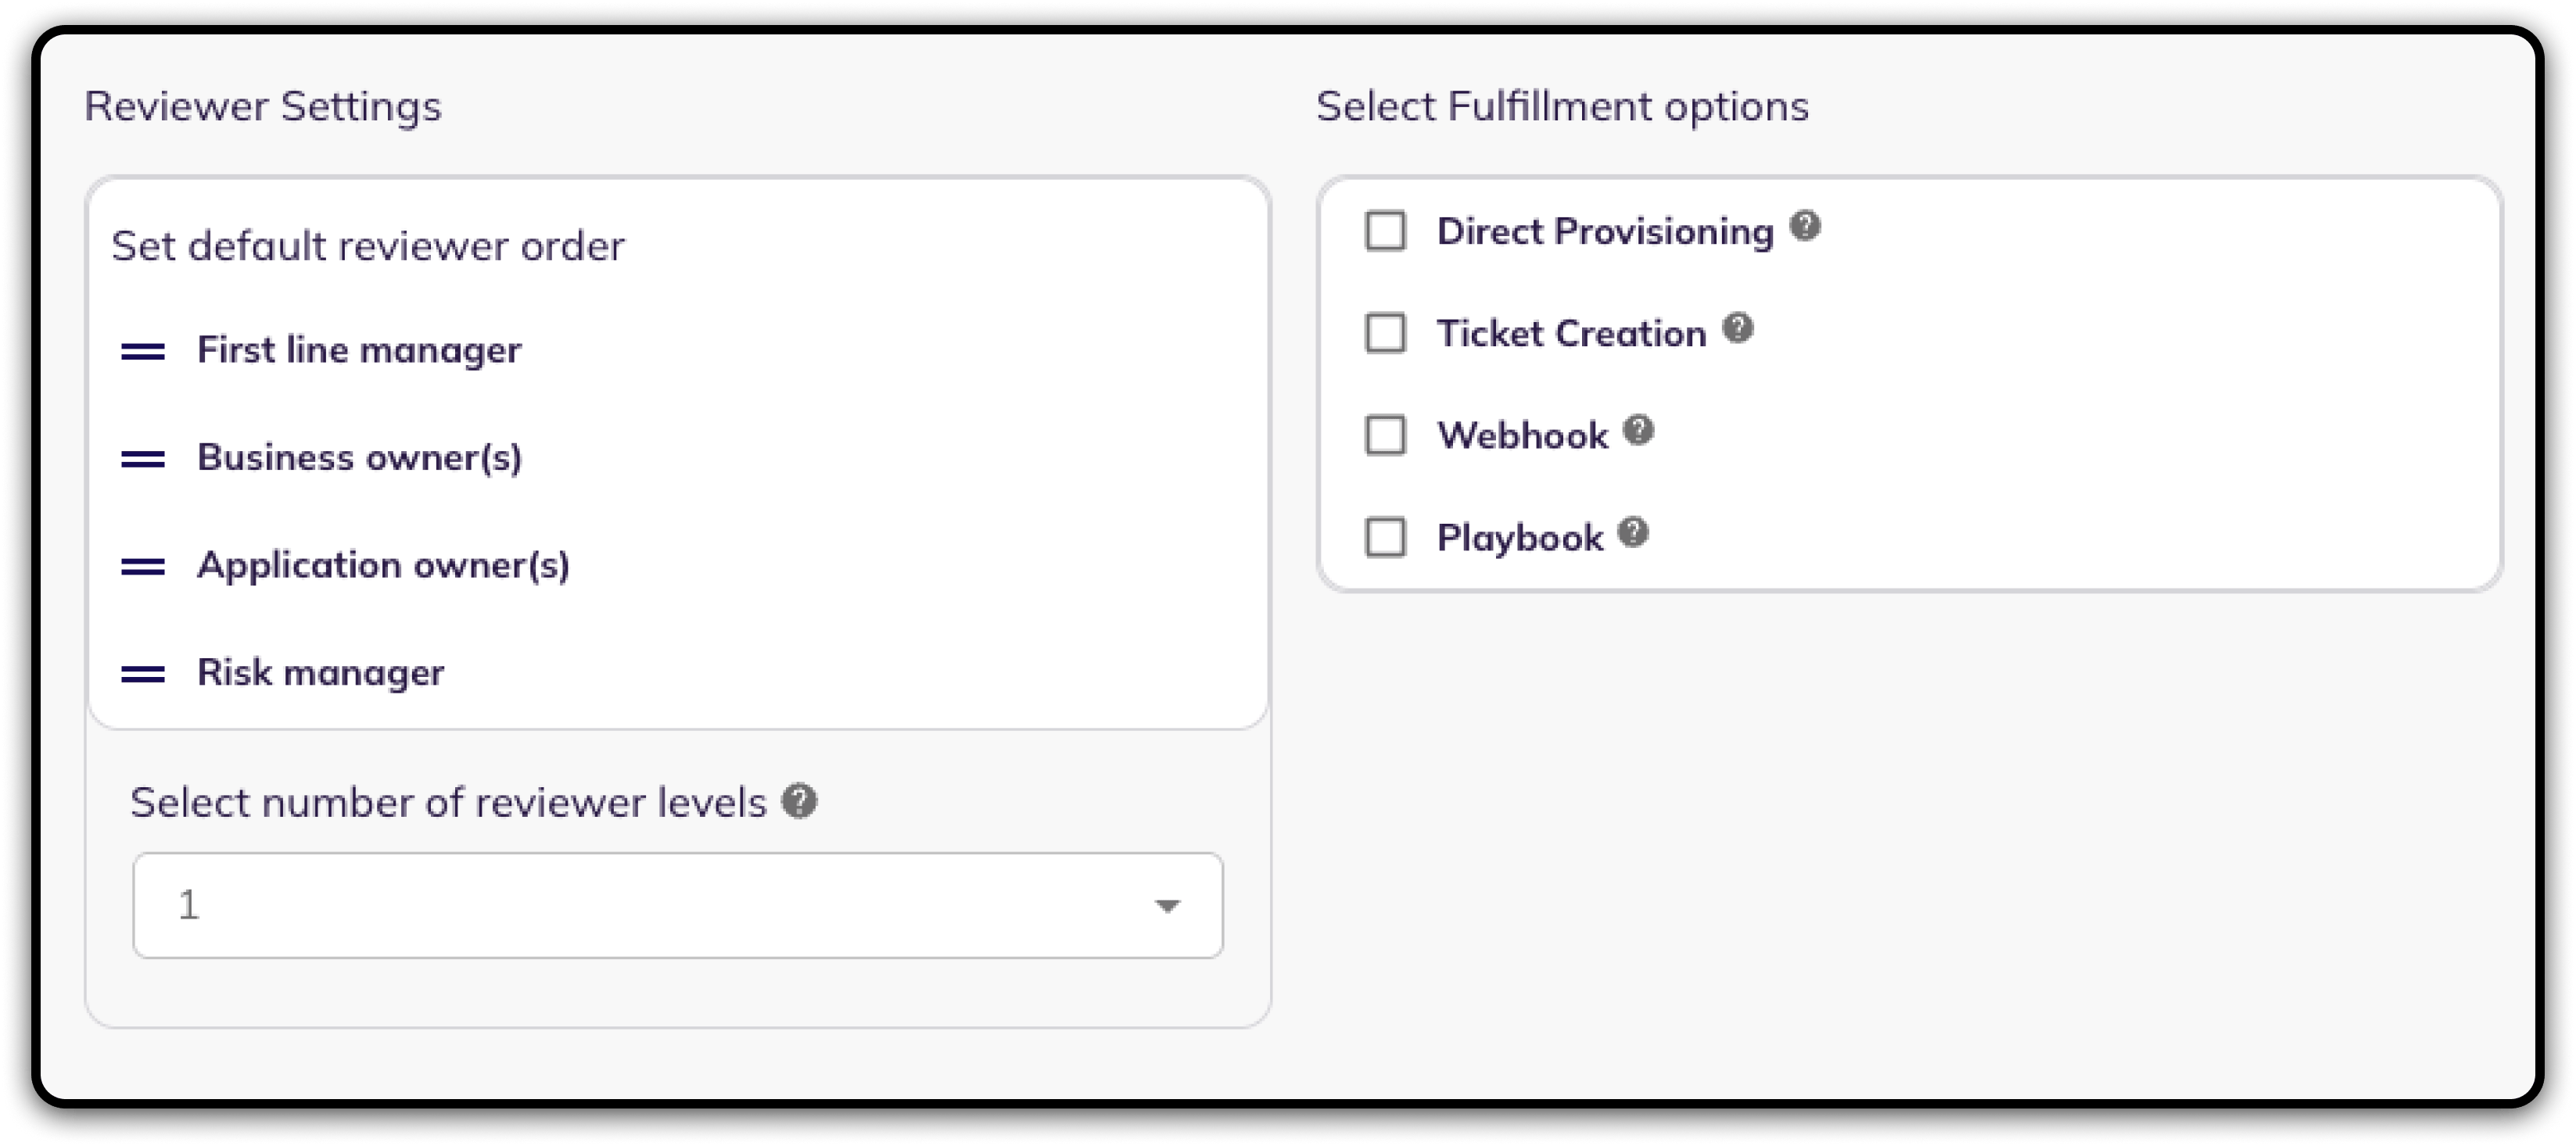
10. Fill **Optional Configuration**, if required.
Optional Configuration
11. Once you have filled in the information, click **Save**. Your integration is now configured and you will see the status of the integration displayed alongside other integrations on the Integrations page. When data is available, the integration Status column will read **Connected** and the integration Message will read **Data available**.
### Integration Scopes
Zendesk API tokens do not carry their own scopes. The integration reads Zendesk with the permissions of the account that created the token, which is why that account must be an administrator.
| Read Only Scopes | Lifecycle Management Scopes |
| --------------------------------------------------------------------------------- | --------------------------- |
| **Administrator** — reads team members, their roles, groups and group memberships | N/A |
{% hint style="info" %}
Custom agent roles require the Zendesk Enterprise plan or above. On other plans, BalkanID extracts each team member's built-in role and no custom roles appear.
{% endhint %}
---
# Agent Instructions
This documentation is published with GitBook. GitBook is the documentation platform designed so that both humans and AI agents can read, navigate, and reason over technical content effectively. Learn more at gitbook.com.
## Querying This Documentation
If you need additional information that is not directly available in this page, you can query the documentation dynamically by asking a question.
Perform an HTTP GET request on the current page URL with the `ask` query parameter, and the optional `goal` query parameter:
```
GET https://docs.balkan.id/getting-started/setting-up-your-tenant/application-integrations/direct-application-integrations/zendesk-integration-setup.md?ask=&goal=
```
`ask` is the immediate question: it should be specific, self-contained, and written in natural language.
`goal` is optional and describes the broader end goal you are ultimately trying to accomplish on behalf of the user. GitBook uses it to tailor the answer towards what is most useful for that goal.
The response will contain a direct answer to the question and relevant excerpts and sources from the documentation.
Use this mechanism when the answer is not explicitly present in the current page, you need clarification or additional context, or you want to retrieve related documentation sections.