> For the complete documentation index, see [llms.txt](https://docs.balkan.id/llms.txt). Markdown versions of documentation pages are available by appending `.md` to page URLs; this page is available as [Markdown](https://docs.balkan.id/getting-started/setting-up-your-tenant/application-integrations/direct-application-integrations/tableau-integration-setup.md).
# Tableau Integration Setup
### Getting Started
BalkanID recommends creating a separate service account for the purposes of this integration, instead of using personal or employee named accounts.
#### Requirements:
A token in Tableau has exactly the access of the user who created it, so its recommended to use a token belonging to a **Site or Server Administrator**.
* ***Tableau Instance URL -*** The URL of your Tableau Server or Tableau Cloud instance.
* ***Site Name -*** The name of the Tableau site to connect to.
* ***Personal Access Token Name -*** The name of the Personal Access Token created in Tableau.
* ***Personal Access Token Secret -*** The secret value generated for the Personal Access Token.
#### Getting the Configuration
1. Open your *Tableau Page*, and navigate to *Settings* and search for *Personal Access Tokens.*
2. Now enter a Token name (*Personal Access Token Name*) and click on *Create Token.*
3. Copy the token and save it. This will be your *Personal Access Token Secret.* You will have to enter it within the BalkanID application when prompted.
4. For Tableau Instance URL, copy this part of your URL:
5. For Site Name, copy this part of your URL:
### Configure integration within your BalkanID tenant
1. Login to the BalkanID application and switch to the tenant you would like to add your integration to.
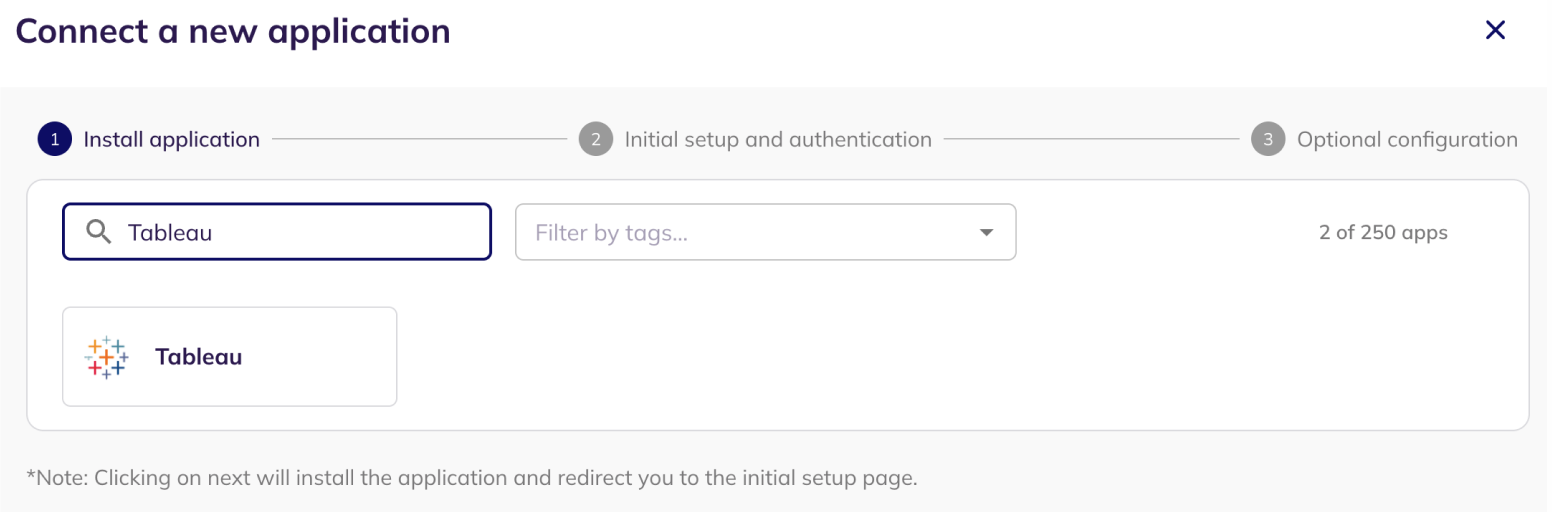
2. Head to *Integrations* > **Add Integration**, select **Tableau.**
3. Set up the *Primary Application owner (mandatory)* and the *Description*, if any. Set up Secondary Application Owner(s), if any.
Select the Extraction Type. From here, you can configure your application using one of the following methods:
1. **Direct integration** - Provide your Tableau Instance URL, Site name, Personal access token name and Personal access token secret obtained above to set up a direct connection with BalkanID.
2. **SCIM integration** - Provide SCIM server credentials to set up a SCIM connection with BalkanID.
3. **Manual file upload** - Upload Entity and Entity Relations through a .CSV file upload. Contact the team for assistance with this.
4. Click on next to move onto *Optional Configuration.*
5. Fill **Optional configuration,** if required.
6. Once you filled in the information, click **Save**. Your integration is now configured and you will see the status of the integration displayed alongside other integrations on the *Integrations* page. When data is available, the integration Status will read **Connected** and the integration Message will read **Data available**.
---
# Agent Instructions
This documentation is published with GitBook. GitBook is the documentation platform designed so that both humans and AI agents can read, navigate, and reason over technical content effectively. Learn more at gitbook.com.
## Querying This Documentation
If you need additional information that is not directly available in this page, you can query the documentation dynamically by asking a question.
Perform an HTTP GET request on the current page URL with the `ask` query parameter, and the optional `goal` query parameter:
```
GET https://docs.balkan.id/getting-started/setting-up-your-tenant/application-integrations/direct-application-integrations/tableau-integration-setup.md?ask=&goal=
```
`ask` is the immediate question: it should be specific, self-contained, and written in natural language.
`goal` is optional and describes the broader end goal you are ultimately trying to accomplish on behalf of the user. GitBook uses it to tailor the answer towards what is most useful for that goal.
The response will contain a direct answer to the question and relevant excerpts and sources from the documentation.
Use this mechanism when the answer is not explicitly present in the current page, you need clarification or additional context, or you want to retrieve related documentation sections.