# Zoom Integration Setup
### Getting Started
BalkanID recommends creating a separate service account for the purposes of this integration, instead of using personal or employee named accounts.
#### Requirements:
* ***Client ID***
* ***Client Secret***
* ***Tenant ID(Account ID)***
#### Getting the Configuration
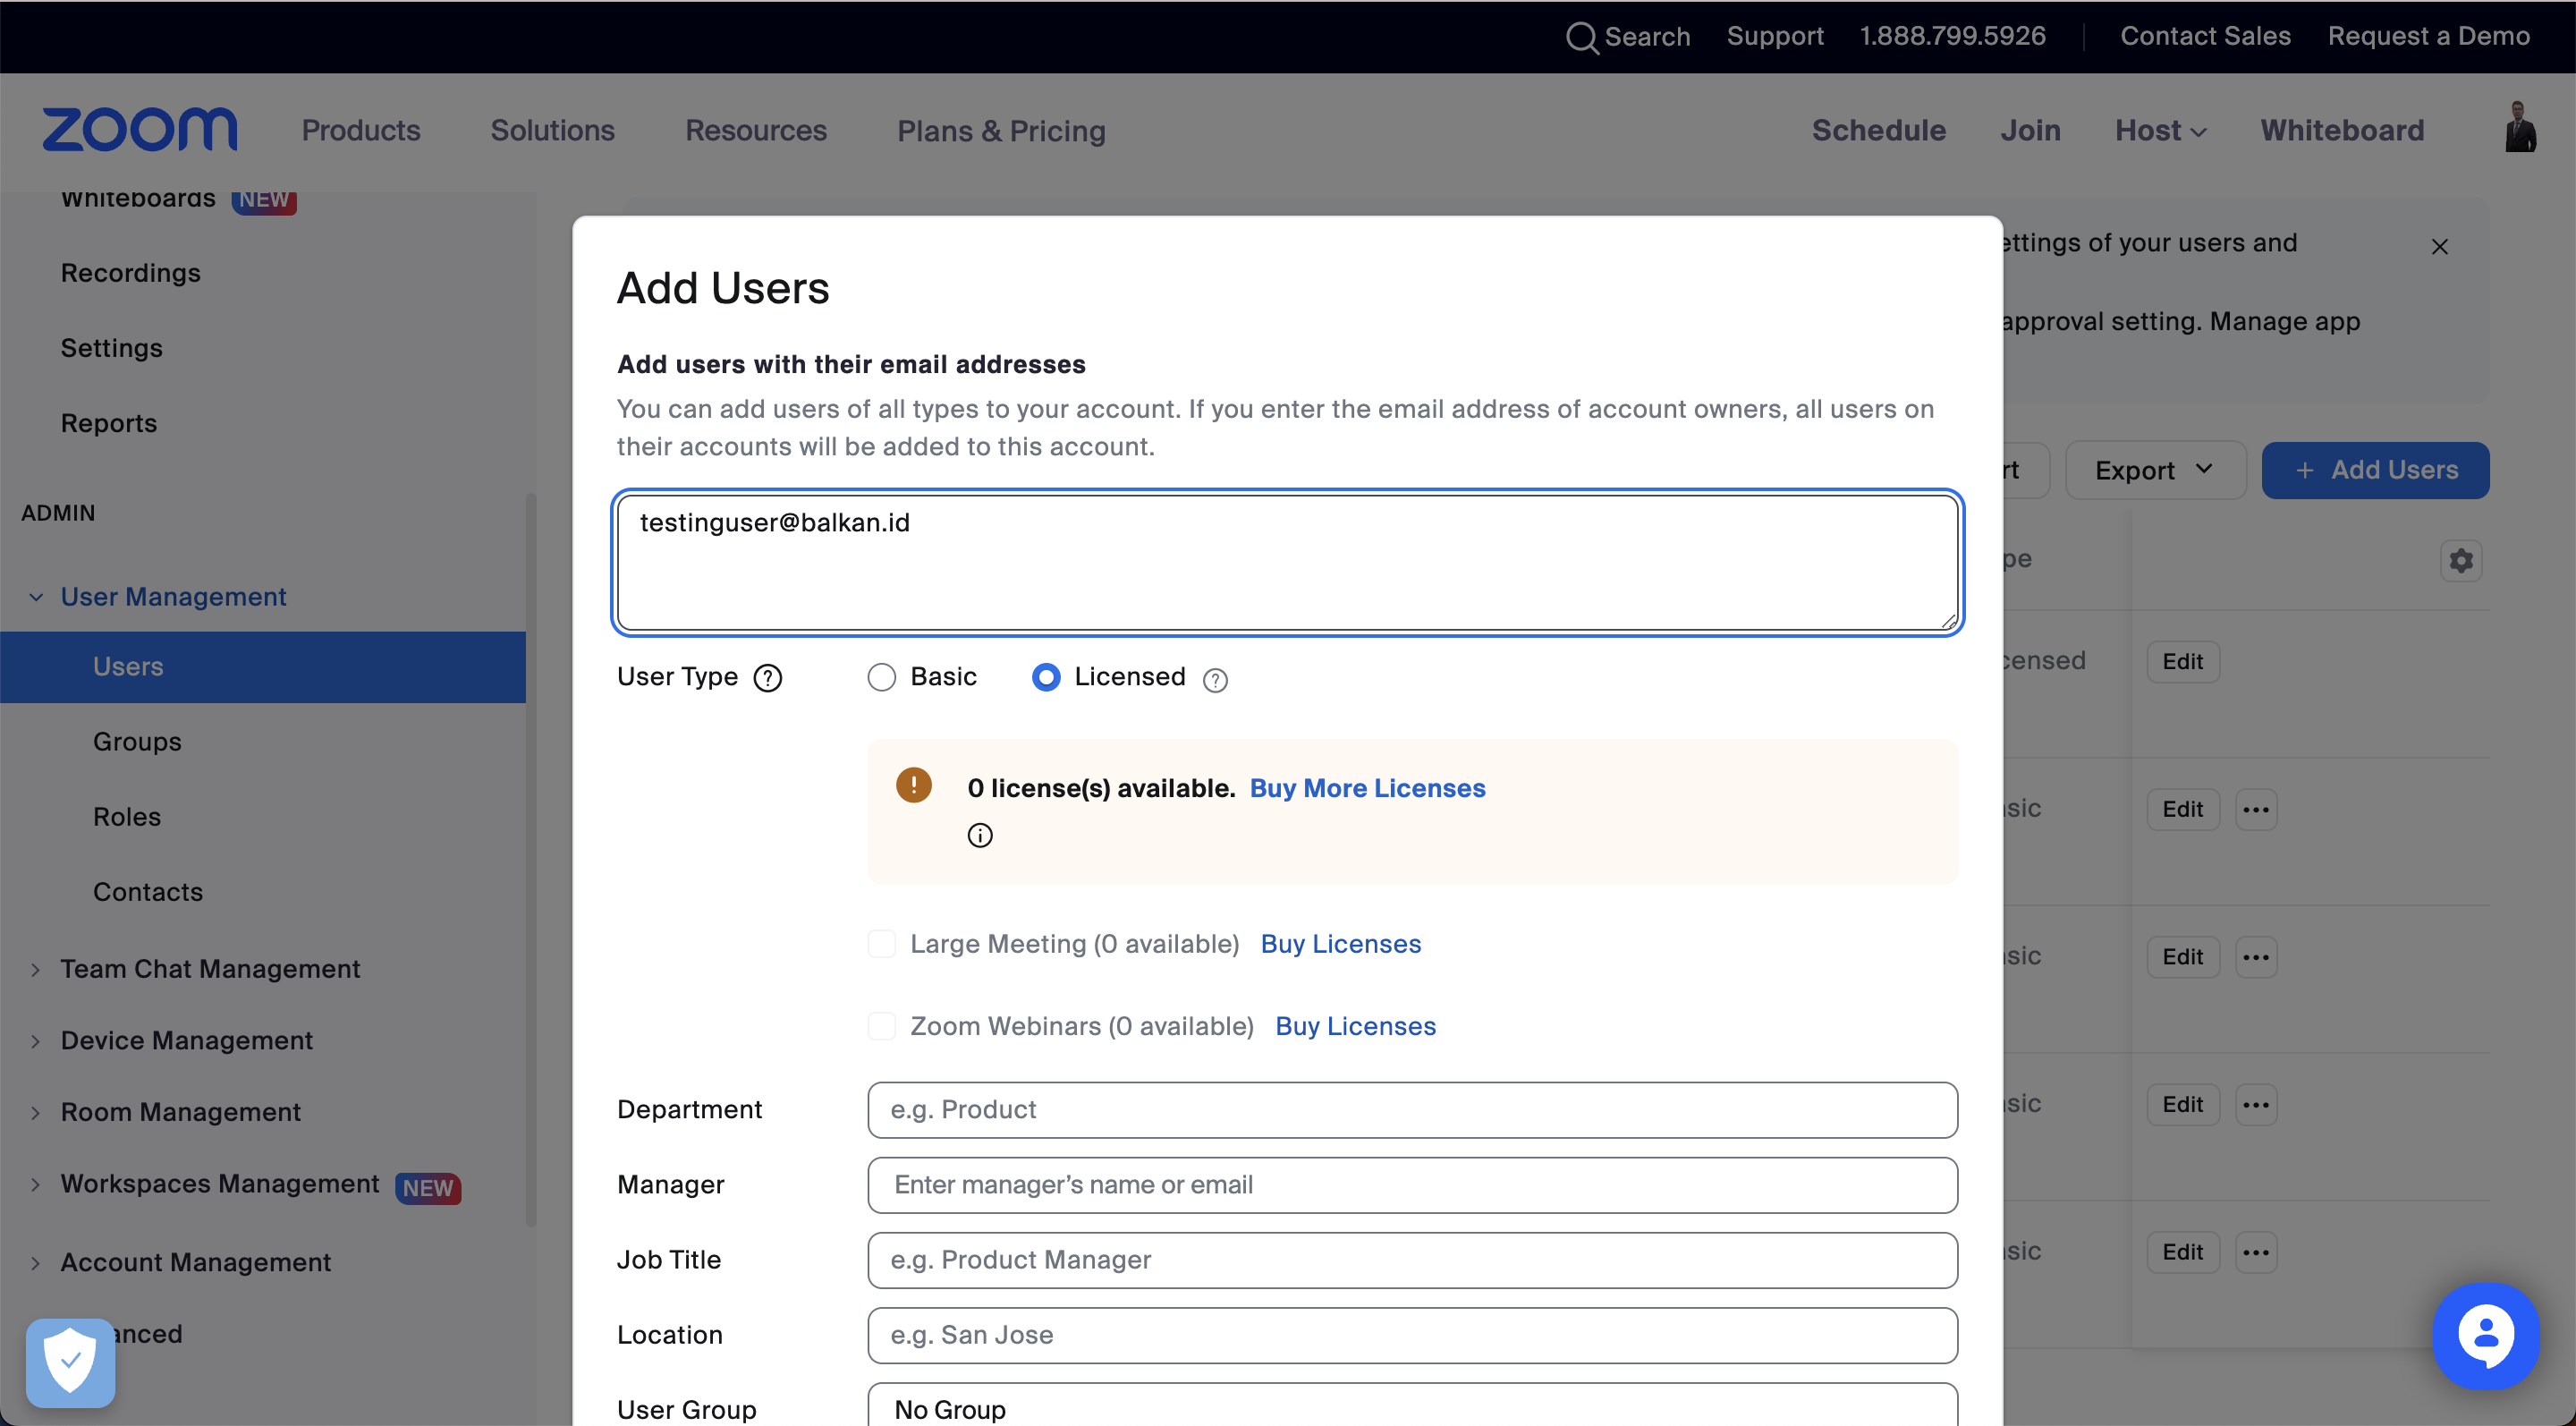
1\. On the Zoom Admin console, navigate to the users section and click **Add user**.
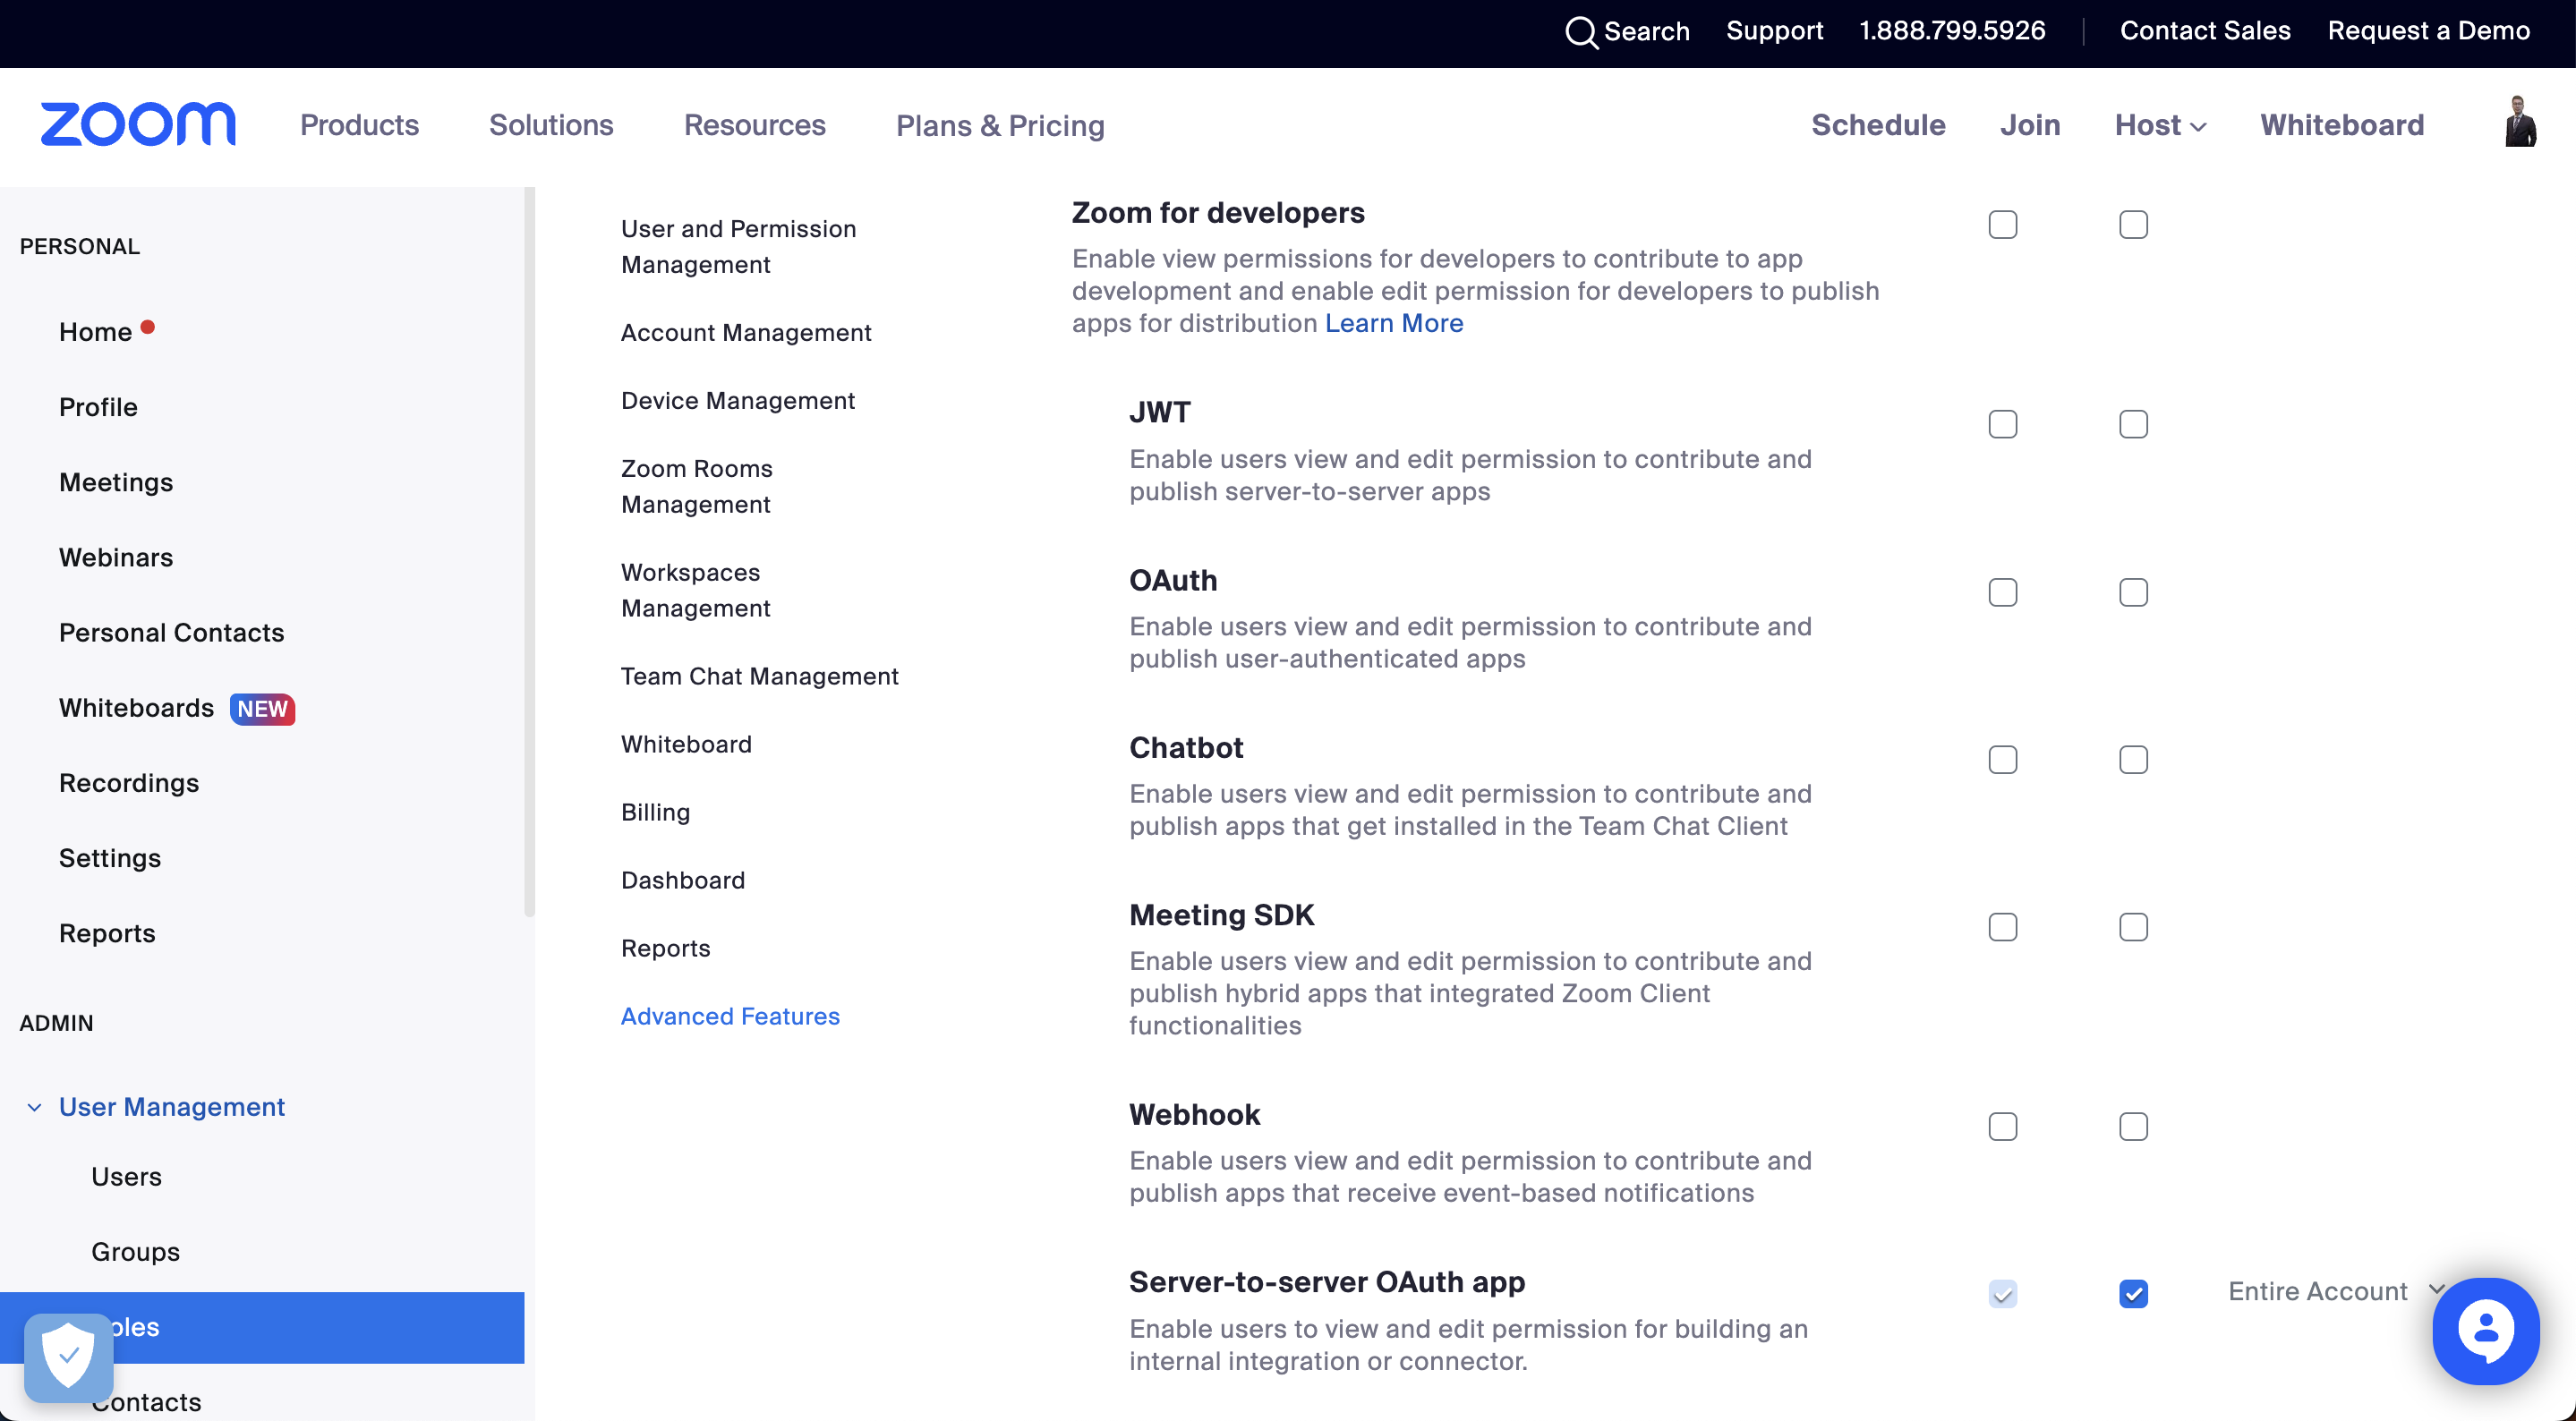
2\. Activate the user:
* Users → View
* Role Management → View
* Groups → View
* Zoom for developers → Server-to-Server OAuth app → Edit
Create a role from the roles dashboard and grant it the following permissions:
3\. Add the user you created to the role that you set up.
4\. Login as the user.
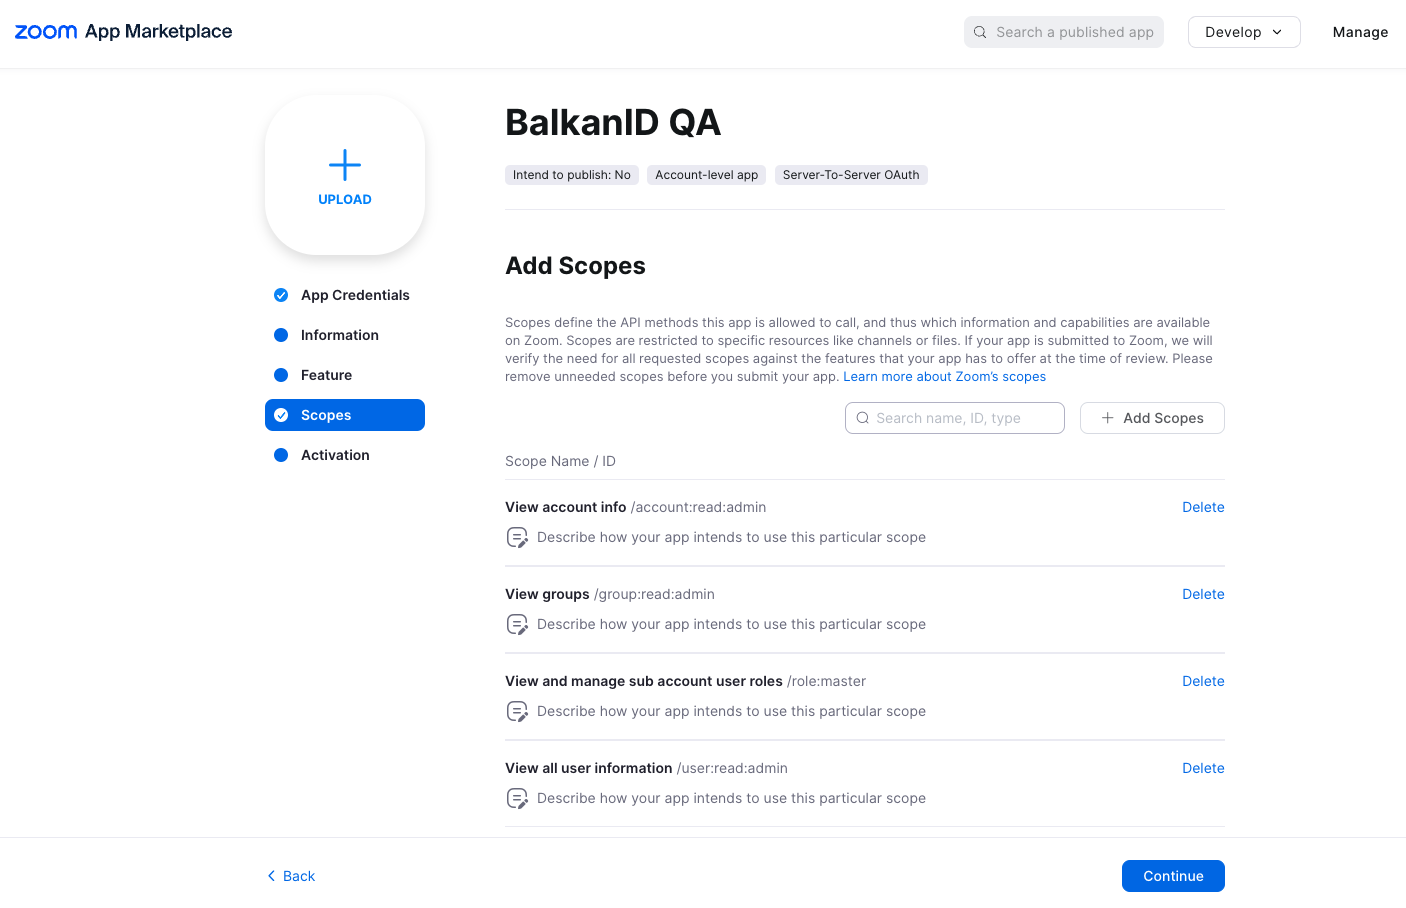
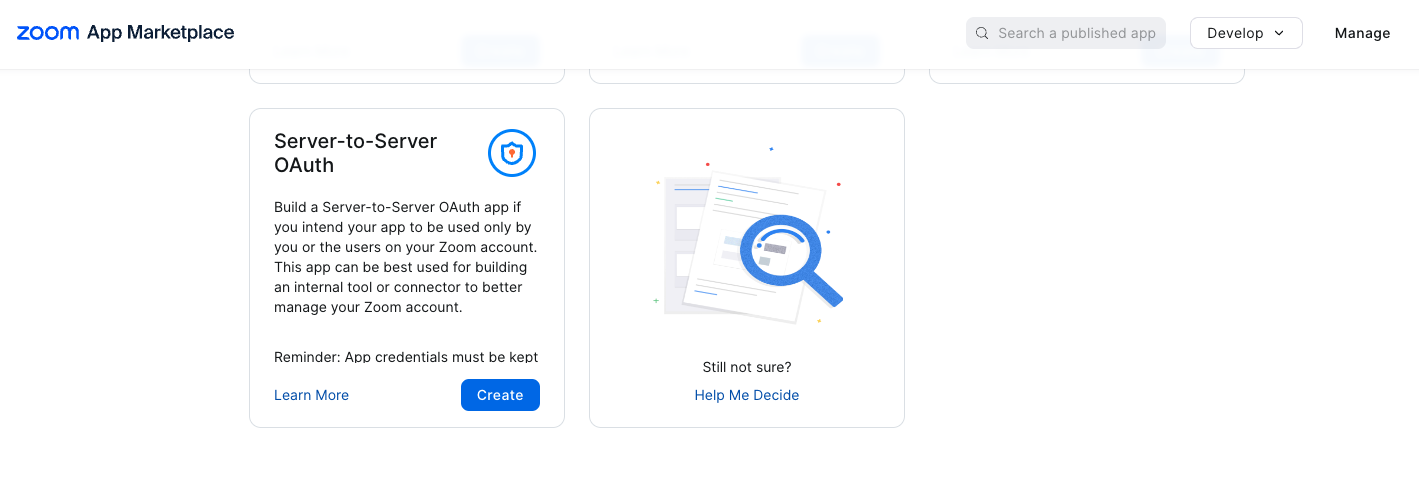
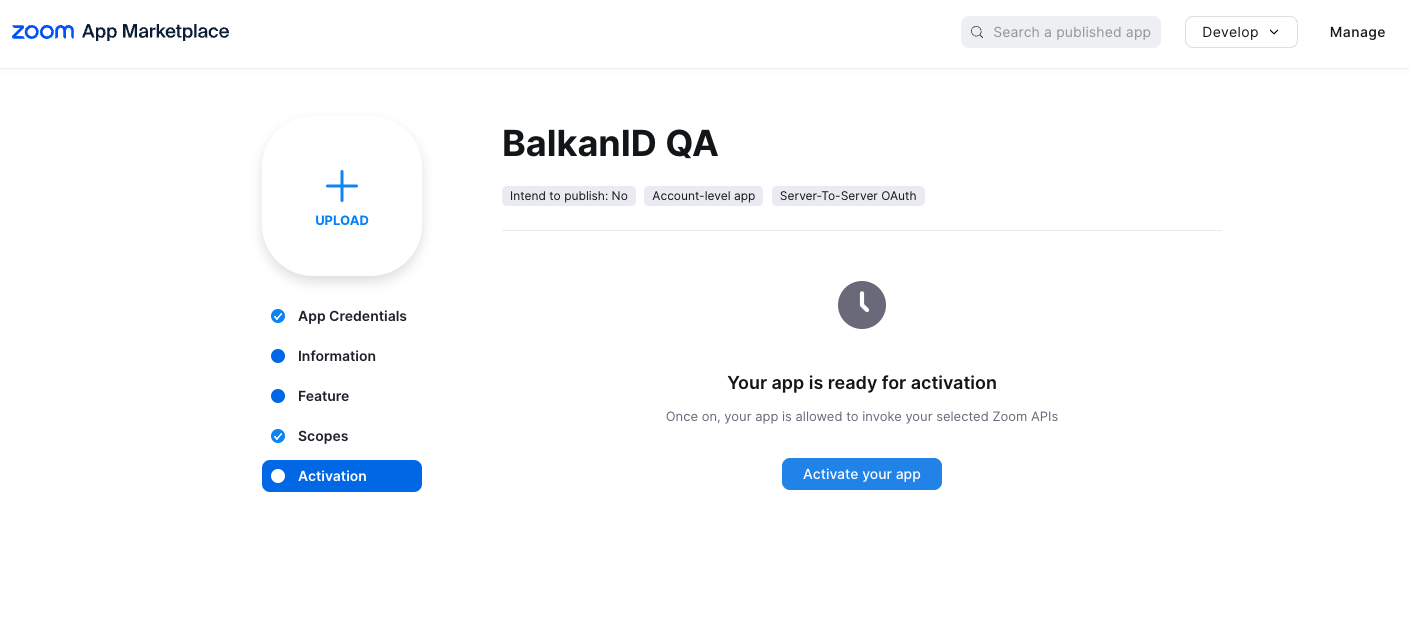
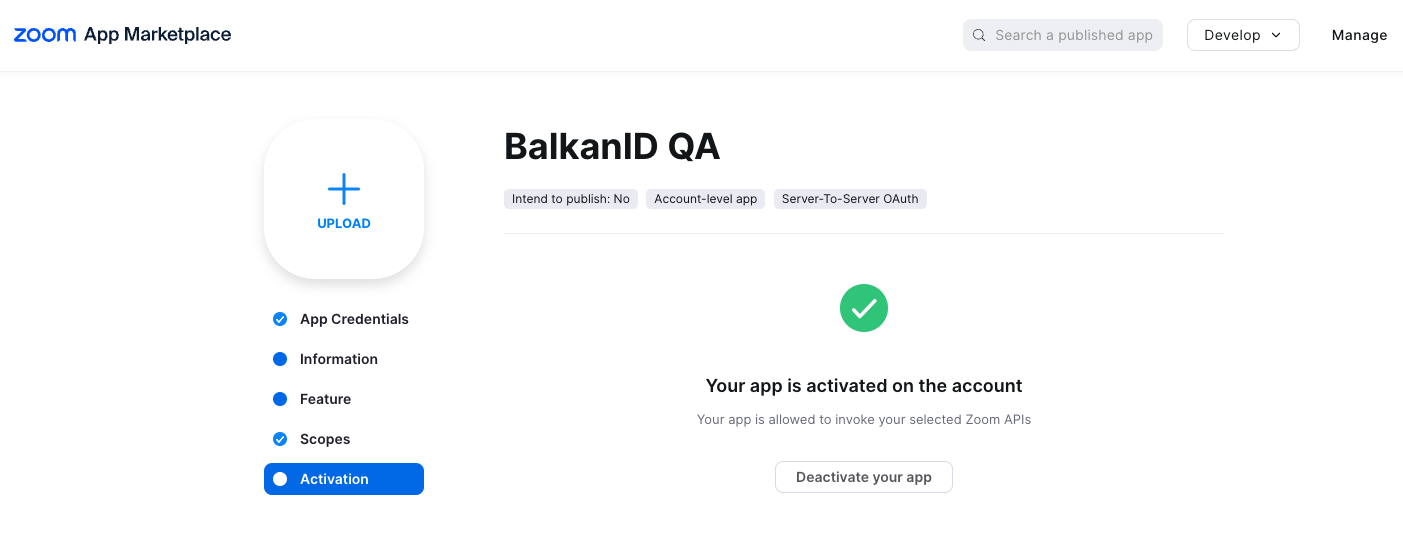
5\. Head over to the apps page and create a “Server-To-Server OAuth” application.
6\. Enter your details and setup your API scopes as mentioned below:
#### Authorization
* The client will be required to create a user with the aforementioned permissions granted by a role.
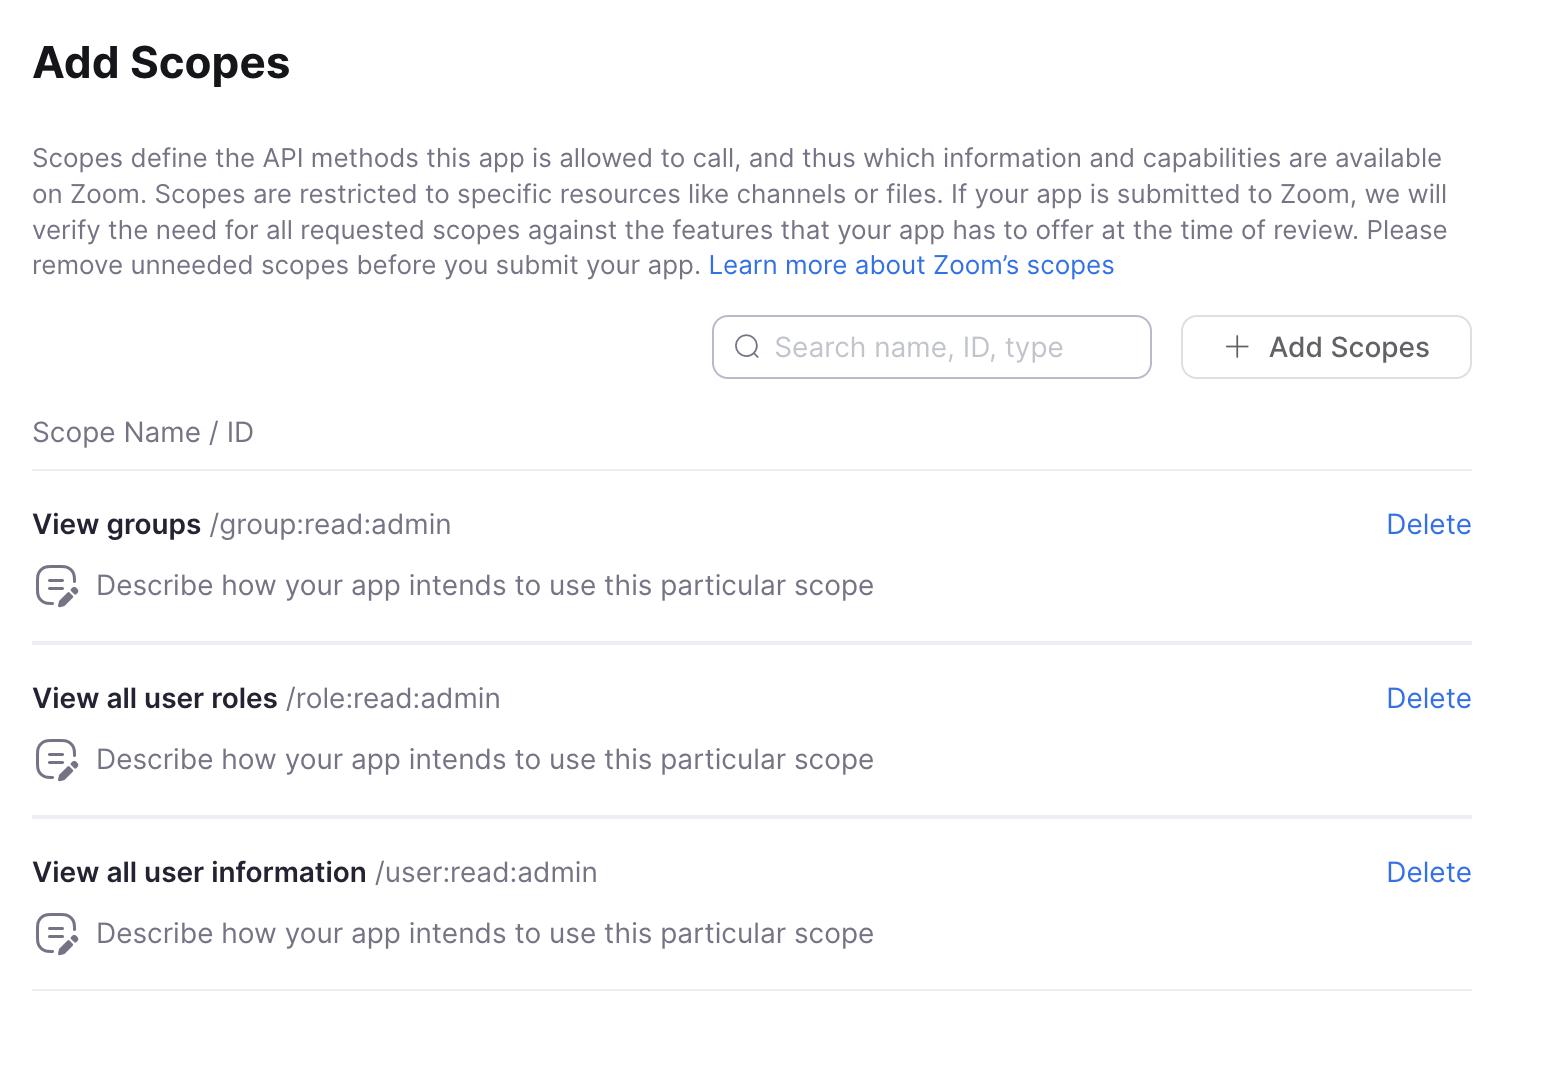
* The Server-To-Server OAuth app needs the following scopes:
* group
* group:read:admin
* user
* user:read:admin
* role
* role:read:admin
### Configure Zoom within your BalkanID tenant
1. Login to the BalkanID application and switch to the tenant you would like to add your integration to.
2. Head to *Integrations* > *Third Party Applications* and click **Add Integration**, select **Zoom**. Set up the *Primary Application owner* and the *Description*, if any.
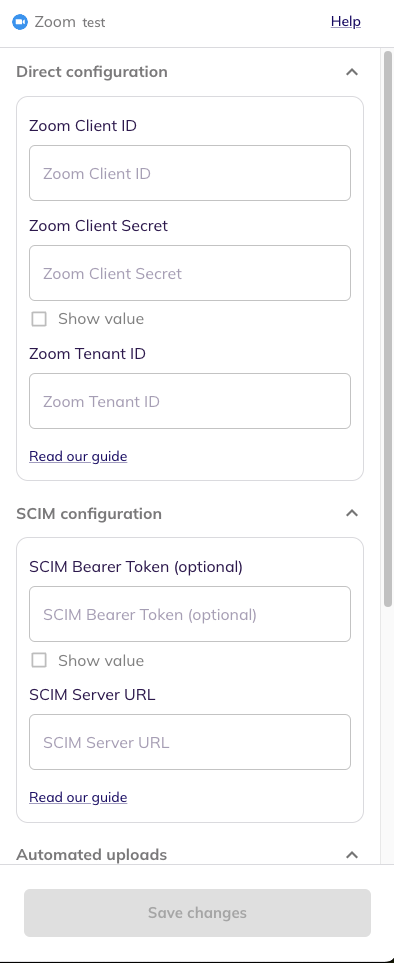
3. *Zoom* would have been added to the list of applications. Click on the **Configure and Integrate** button beside the integration name, and configure the fields with the values that were noted prior. It should look like this:
4. Once you filled in the information, click **Save changes**. Your integration is now configured and you will see the status of the integration displayed alongside other integrations on the *Integrations* page. Integrations are synced daily. When data is available, the integration Status column will read **Connected** and the integration Message will read **Data available**.